Connection Manager Administration Kit (CMAK) an Overview and General Guideline

The Connection Manager Administration Kit has been around since Windows Server 2003 as an embedded Windows server feature. Initially available for server platforms, this deployment enabling tool is now supported on selected Windows 7 and Windows 8/8.1 client platforms.
Windows 7 and Windows 8 client certification exams expect that you are familiar with CMAK, or at least its purpose. We reference CMAK in the MOC 6292, MOC 6294 and the Windows 7 50331 course, as well as the Windows 8/8.1 20687 course. And that is the extent of our overview or classroom training.
Since student often ask what CMAK can (and cannot) do, I thought I would take a few moments to provide an overview.
Paraphrasing TechNet and Microsoft Official Curriculum, the Connection Manager Administration Kit (CMAK) can be used to customize the remote connection experience by pre-defining connection parameters to remote servers and networks. CMAK is specifically designed to generate deployable profile elements that are bundled together in a self installing executable. The focus is decidedly VPN or dial-up connections, and does not include support for preconfigured wireless connections, remote desktop, remote assistance, or Direct Access. Essentially, CMAK is a legacy application maintained due to the increasing emphasis on VPN across wired and wireless connections.
From the Connection Manager Administration Kit TechNet article for Windows Server 2008 R2 the wizard will assist an administrative user to create a profile and elements that include:
- Login information for the remote network (domain or individual account)
- Virtual Private Network (VPN) connection details. (server, IP address)
- Dial-up modem configuration and phone number information. (creating a phone book file of best phone numbers if dial-up access is supported or desired)
- Custom routing tables (optional defined connection routes).
- Custom Internet Explorer proxy settings.
- Custom bitmaps and icons ( for file or profile identification)
- Custom Help file
- Custom actions that use other programs, either already on the client system or that you include with the connection profile installation program.
The wizard is somewhat like a decision tree. Once you select a particular direction or answer, you are guided down a specific path with additional configuration panels, until another decision point is offered. Step one is installing (actually just enabling) the feature.
The feature is not installed by default, although it is available across multiple platform images. In each case, proceed to the Control Panel, and navigate to enable Windows features. Look carefully, since the tool is variously called the Connection Manager Administration Kit or RAS Connection Manager Administration Kit, and does not appear in the same location within the Windows Features list on each platform.
For a CMAK general overview see: Connection Manager Administration Kit Overview
For Windows Server 2003 documentation see: Connection Manager Administration Kit
For Windows 2008/R2 (and Windows 2012/R2 although there is not a unique TechNet article). Install CMAK – Overview document.
Run the CMAK Wizard to Create a Connection Profile – Step-by-step and alternate configurations.
Although there is not a unique TechNet article for Windows Server 2012/R2, there is a blog: How to create a Connection Profile with the CMAK Wizard with step-by-step screen shots for a single pass.
You cannot install CMAK onto a computer running a 64-bit version of Windows 7. (Per details within TechNet)
Although TechNet suggests that the 32 bit version is available on a 32 bit instance of Windows 7. The RAS Connection Manager Administration Kit (CMAK) is available on Windows 8.1, and my screen shots are for this version.
NOTE: The deployed executable appears to run on any Windows client platform from Windows XP, through Vista to Windows 8/8.1, with the newer versions affording backward compatibility through wizard options. I was able to create and deploy a CMAK executable from Windows 2008 R2 and Windows 8.1, and get them to run on Windows XP, Windows Vista, Windows 7 and Windows 8 although I was admittedly using an identical host platform in each instance.
The Windows 8/8.1 process.
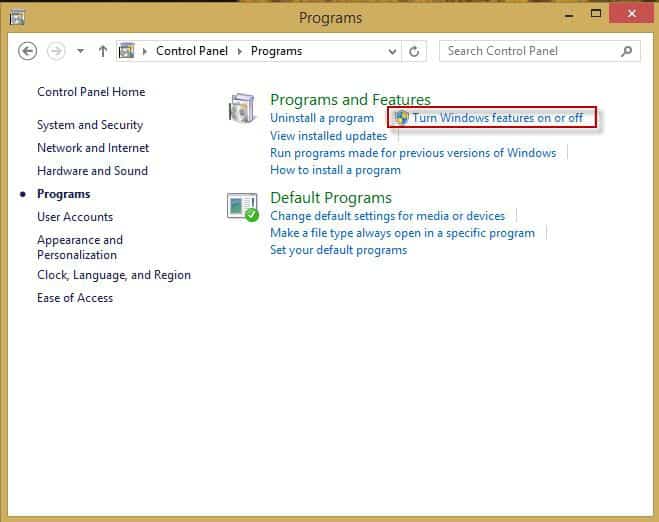
- Launch Control Panel, Programs and Select Turn Windows Features on or off
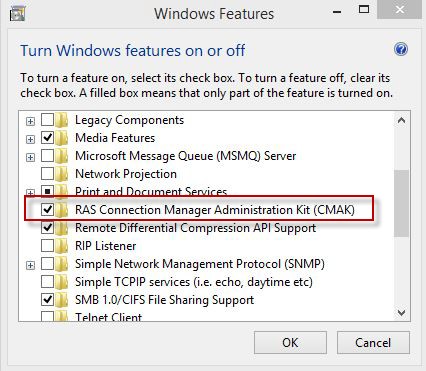
- Select the RAS Connection Manager Administration Kit (CMAK) and OK. Note: A system reboot is required to enable the feature.
- Following the reboot, I searched for CMAK, right (alt) clicked the icon, and pinned it to my taskbar for easy access.

- I then again right (alt) clicked the icon to run it as an administrator. This may not be necessary, though I prefer to use any tools in administrator mode to assure correct performance each time I launch an administrative tool.
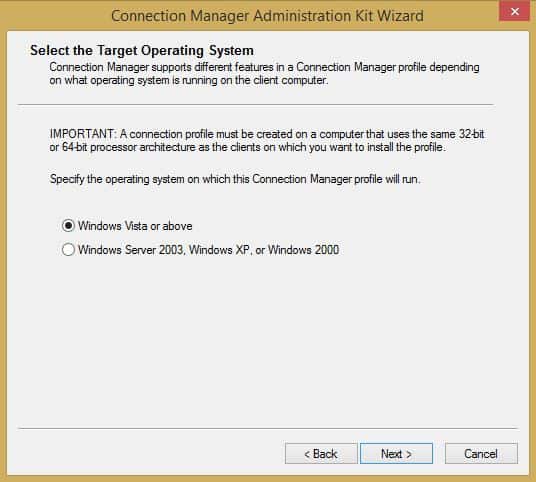
- Follow the wizard through each step, selecting your preferred options, a few of which I have shared below. You may have to run through the wizard several times if you are deploying to different Operating system platforms and hardware architectures. Note that the following screen suggests you should run the wizard from the same processor platform as your intended target, although this constraint does not appear to be as universal as the ‘IMPORTANT:’ warning implies. In any case it would be best to test the deployment executable before making it generally available.
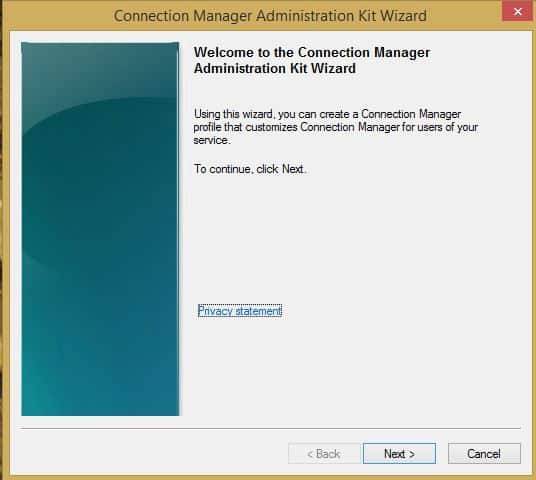
Create a new profile or modify an existing one. When in doubt, just create a new profile. The wizard is easy to use, and a new profile will assure that you have not accidentally altered or omitted essential information.
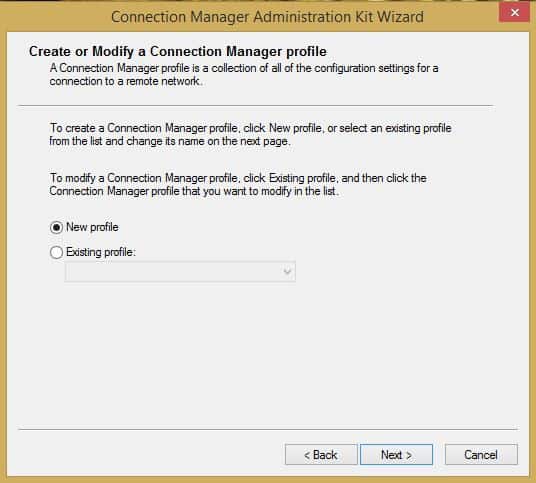
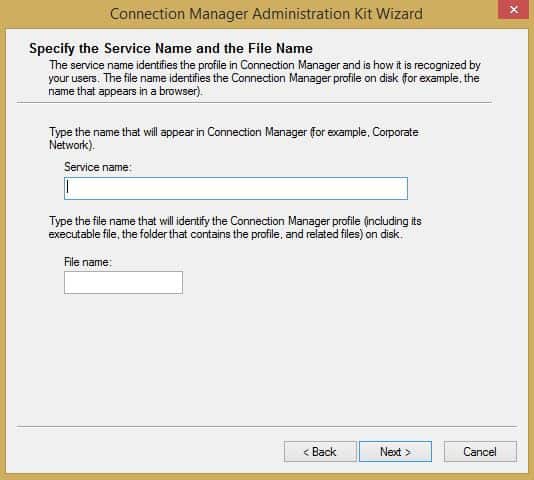
Each of the connection element files will use the same name/prefix, with various extensions for the different elements (e.g. .inf, .exe, .cms, .cmp). Select a naming convention that matches the label for convenience.
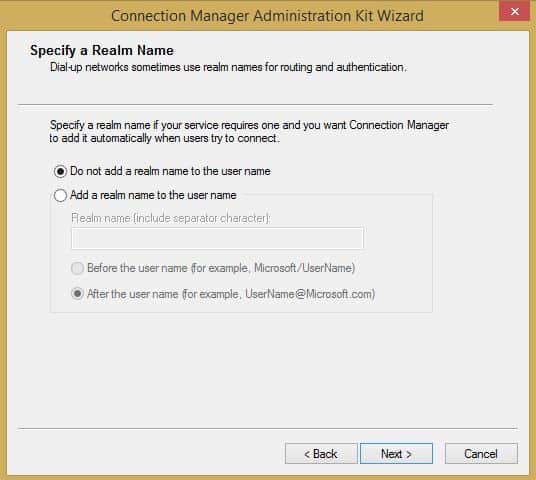
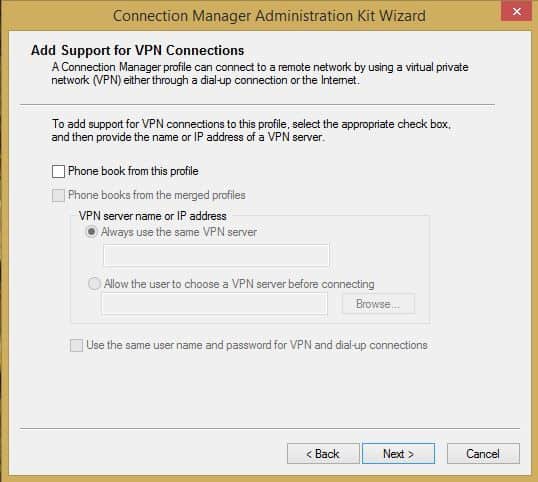
The following panels are representative of one partial path through the wizard. Others include the ability to merge phone books or content from pre-existing profiles, set or modify routing tables, and create custom help files.

- Once you have completed all of your selections, identify a storage location and save your deployment image by selecting the Finish button.
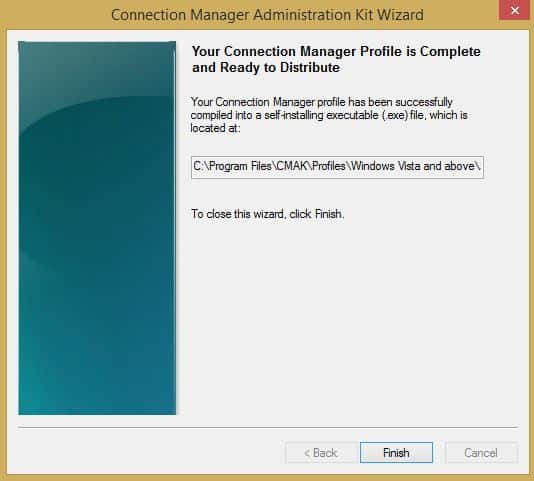
Note that the deployment image is an executable file that you will need to share with desired end-users. During my tests, I created a separate sub-directory for each pass of the wizard to assure that deployment components did not accidentally overlap. Probably a best practice.
You might want to search my blogs for information on encapsulating an executable within a .msi format for deployment via Group Policy.
And with that you have a basic overview of CMAK.
Hope to see you in the classroom or online!
Steven Fullmer
Interface Technical Training Staff Instructor
Steve teaches PMP: Project Management Fundamentals and Professional Certification, Windows 7, Windows 8.1 and CompTIA classes in Phoenix, Arizona.


A Simple Introduction to Cisco CML2
Mark Jacob, Cisco Instructor, presents an introduction to Cisco Modeling Labs 2.0 or CML2.0, an upgrade to Cisco’s VIRL Personal Edition. Mark demonstrates Terminal Emulator access to console, as well as console access from within the CML2.0 product. Hello, I’m Mark Jacob, a Cisco Instructor and Network Instructor at Interface Technical Training. I’ve been using … Continue reading A Simple Introduction to Cisco CML2
Creating Dynamic DNS in Network Environments
This content is from our CompTIA Network + Video Certification Training Course. Start training today! In this video, CompTIA Network + instructor Rick Trader teaches how to create Dynamic DNS zones in Network Environments. Video Transcription: Now that we’ve installed DNS, we’ve created our DNS zones, the next step is now, how do we produce those … Continue reading Creating Dynamic DNS in Network Environments
Cable Testers and How to Use them in Network Environments
This content is from our CompTIA Network + Video Certification Training Course. Start training today! In this video, CompTIA Network + instructor Rick Trader demonstrates how to use cable testers in network environments. Let’s look at some tools that we can use to test our different cables in our environment. Cable Testers Properly Wired Connectivity … Continue reading Cable Testers and How to Use them in Network Environments