Changing the Document Information Panel (DIP) in SharePoint 2010

In this post we will see how to change the Document Information Panel for a SharePoint 2010 custom content type to enforce a specific pattern using regular expression pattern matching in Info Path Designer 2010.
Here's' the problem: We've got a custom content type 'ConfigurationFiles' which requires a service tag to be entered when adding an item to a document library called configuration files. The service tag must be in a specific format or pattern of 3 digits followed by a dash and 3 more digits. For example: 232-343 or 908-458.
Here's the solution: We've created a custom content type of 'ConfigurationFile' that is be based on the document content type. We configured it to use a custom excel worksheet template. We've added a site column called ServiceTagNumber of type text and now we will customize the document information panel settings to meet our requirements.
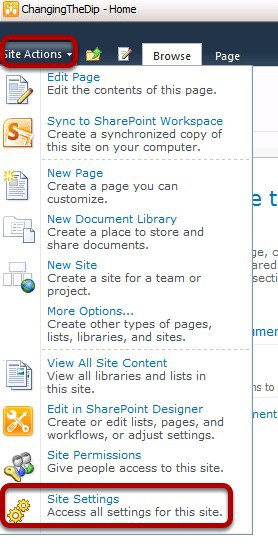
First we need to get to the Content Type settings page. We are on the top level site of a site collection and from here we'll click Site Actions>Site Settings.
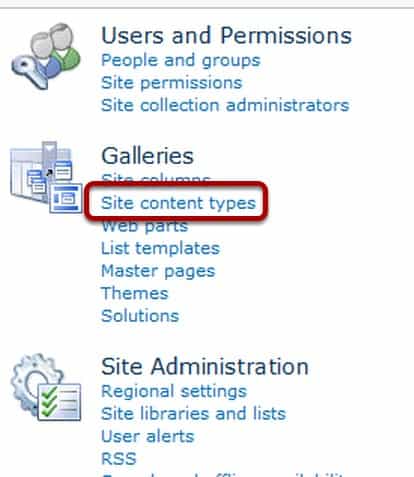
Then we'll click the Site content types link under Galleries.
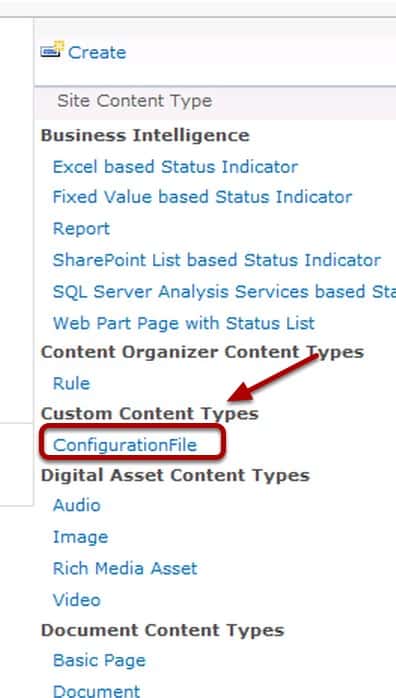
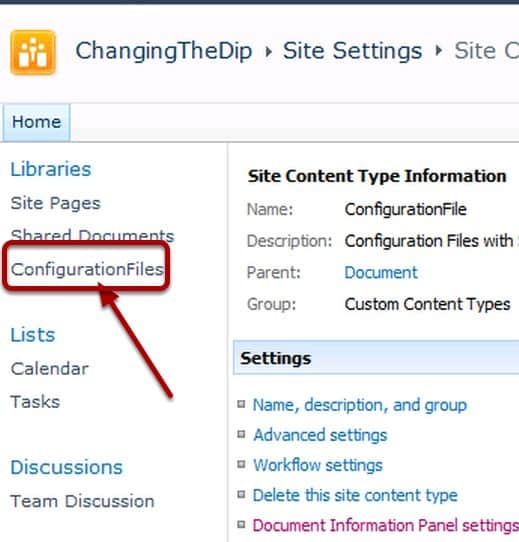
We'll now click on our ConfigurationFile Content Type under Custom Content Types.
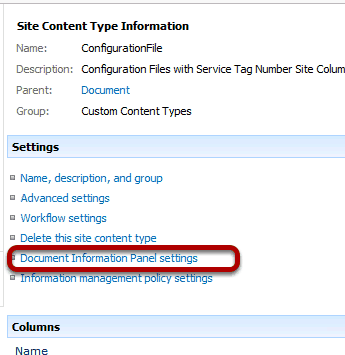
This will take us back to the ConfigurationFile Site Content Type Information page where we need to address the Document Information Panel Settings so that's the link we'll click.
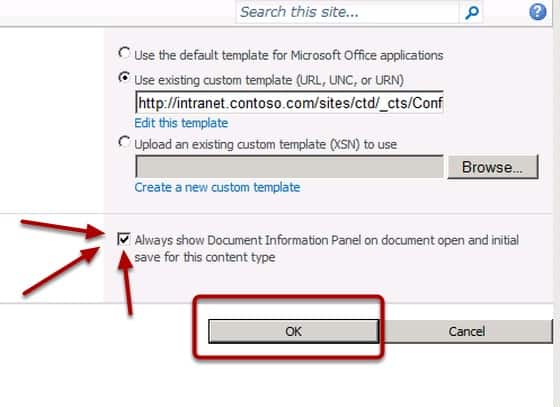
The first thing we are going to do is check the box to Always show the Document Information Panel on …… and then we will click the link that says to Create a new custom template.

It is possible that when we create our customized document information panel we will need to check the Always show Document In…… again.
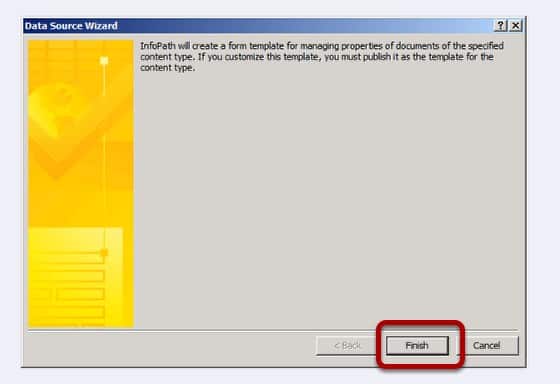
Info path designer will open and we will click Finish on the Data Source Wizard.
We now see the Document Information Management Panel open in Info Path 2010 Designer ready for us to edit.
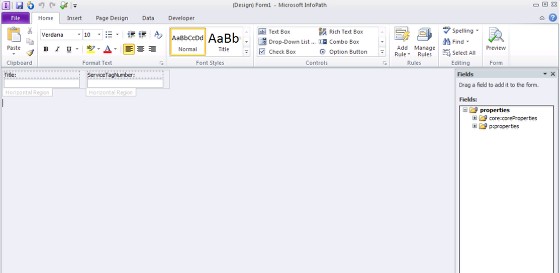
Notice our Site Column ServiceTagNumber along with the built in Title column. There are many ways to skin the cat in the next few steps, we will be following one of them.
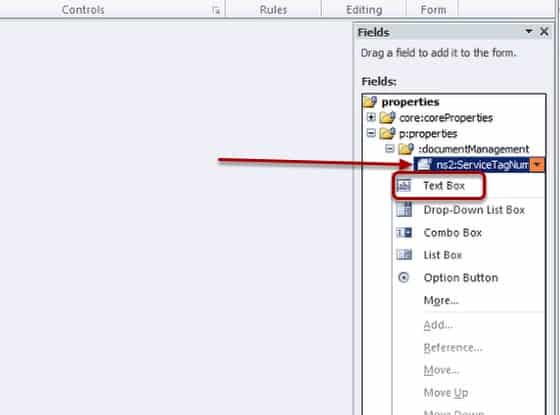
In the Fields panel on the right side of our work area we will click the drop down menu of the ns2:ServiceTagNumber field control and choose Text Box.
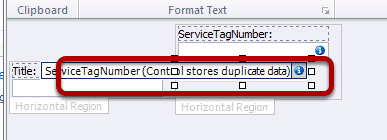
This will actually add a text box control to the form. At this point it will duplicate the list field control contents of the existing control. We can see this because the initial control now shows (Control stores duplicate data)
Delete the original control by clicking on it and hitting the delete button.
After the control is deleted you will want to hit delete one more time to line up the new text box with the Title text box.
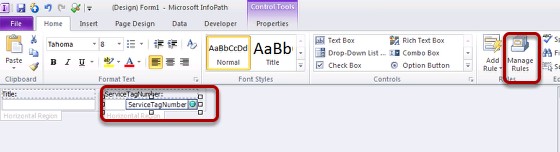
Click on the new text box to select it then choose Manage Rules from the Ribbon. (it's on the home tab)
This action will cause the Rules pane to open on the right side of the screen.
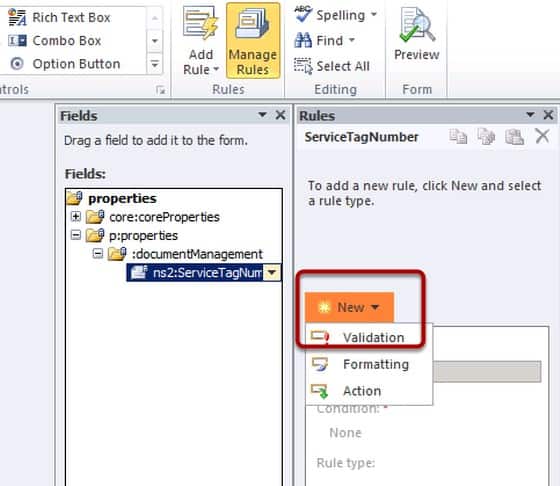
Now we'll add a new validation rule. We click on New and choose Validation to begin.
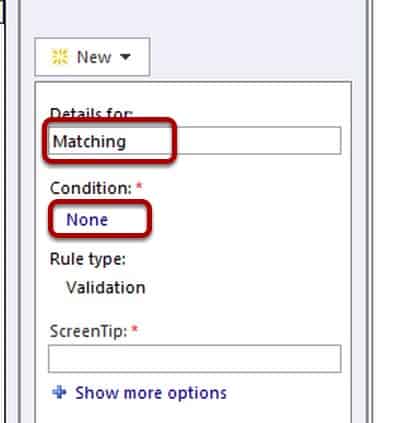
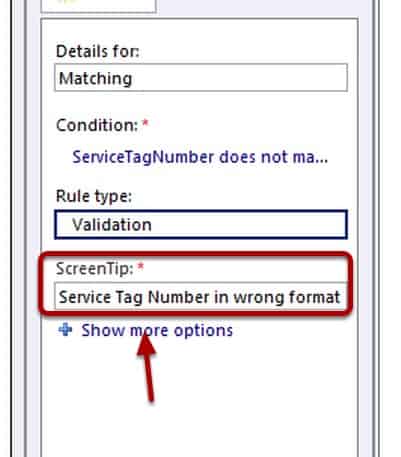
We'll Call this rule Matching and click on the word None under Condition:
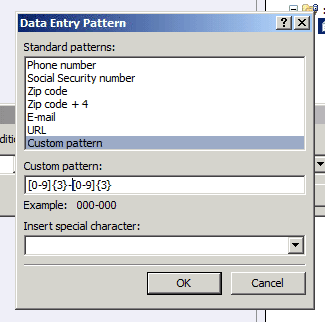
We fill out the condition as shown and choose Select a pattern from the last drop down menu.
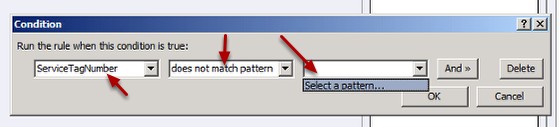
We choose Custom pattern and add our regular expression: [0-9]{3}-[0-9]{3} which translates to any 3 digits zero through nine followed by a dash followed by any three digits zero through nine. Then we click the OK button.
Go ahead and Click the OK button on the Condition dialog box as well.
We need to add some information for our users so we'll fill out the Screen Tip: text box and then click the Show more options link.
To be good User Interface folks we'll go ahead and add specific instructions including a couple of examples in the Dialog box message and choose the radio button to Show Screen Tip and dialog box message.
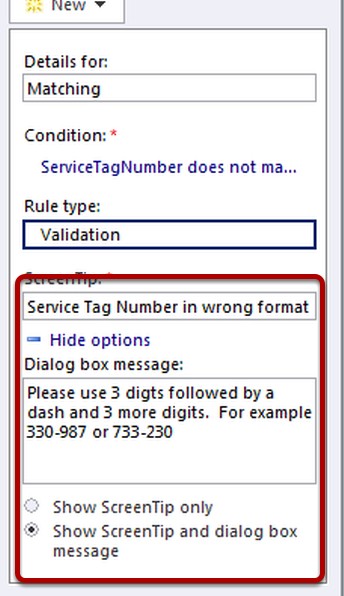
This message will appear to the user if they enter the data incorrectly.
Now we just need to save our form (we'll save a copy to our desktop) then publish it by clicking on the publish icon at the top of Info Path 2010 Designer as shown.

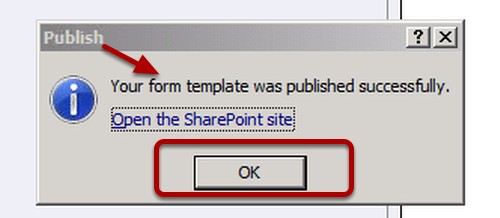
We might have to wait a few moments while the form template publishes back to SharePoint.

Success! Now we can click the OK button and take a look.
Go ahead and close Info Path Designer at this point.
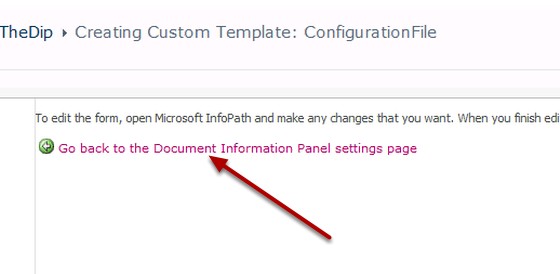
Click on the Go back to the Document Information Panel settings page link.
We will be sure to check to make sure that the Always show Document Information Panel on ….is checked then click the OK button.
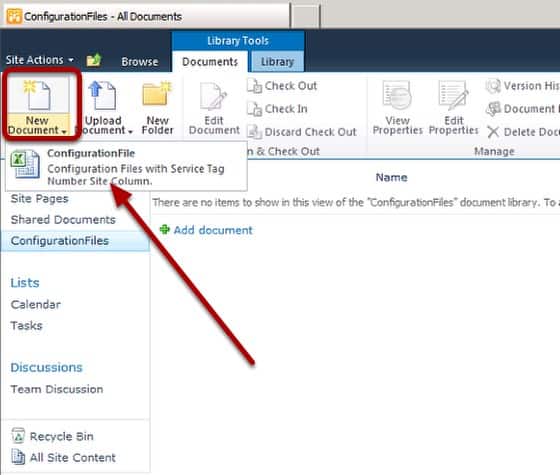
Now we'll confirm that it works. We can click on the ConfigurationFiles link in the quick launch to go to the Document Library which we configured to use ConfigurationFile as the default content type.
Click on the Documents tab to change the ribbon context and then choose new document from the ribbon.
Depending on your configuration it may take a few moments but after a while Excel will open up with your Document Information Panel at the top.
Enter some data in Title and then some incorrectly formatted data in the ServiceTagNumber text box, when you tab out of the control you should get an error message.
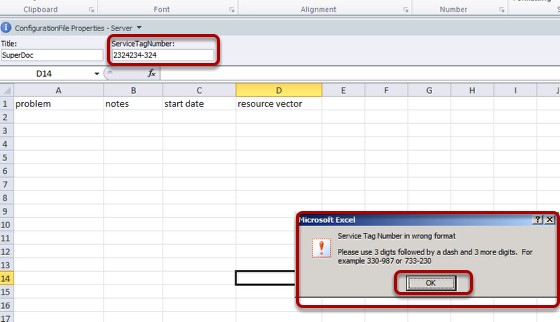
Click OK.
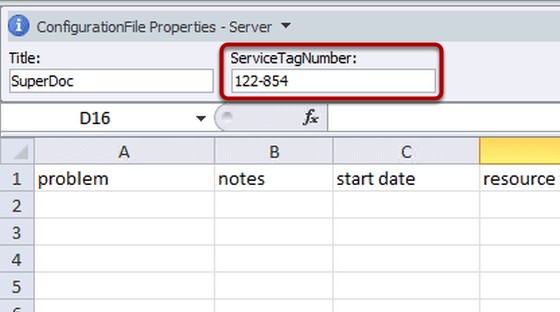
Now enter data in the correct format, when you tab out of the field the Document Information Panel accepts your data input.
We did our own custom Reg Ex in this example however Info Path comes with a whole bunch of built in Reg Ex validators like phone numbers, email addresses, postal codes etc…
That's it!
We created a custom Reg Ex Pattern matching control in our Document Information Panel on our custom content type in Info Path Designer 2010 to work with our custom content type in SharePoint 2010.


A Simple Introduction to Cisco CML2
Mark Jacob, Cisco Instructor, presents an introduction to Cisco Modeling Labs 2.0 or CML2.0, an upgrade to Cisco’s VIRL Personal Edition. Mark demonstrates Terminal Emulator access to console, as well as console access from within the CML2.0 product. Hello, I’m Mark Jacob, a Cisco Instructor and Network Instructor at Interface Technical Training. I’ve been using … Continue reading A Simple Introduction to Cisco CML2
Creating Dynamic DNS in Network Environments
This content is from our CompTIA Network + Video Certification Training Course. Start training today! In this video, CompTIA Network + instructor Rick Trader teaches how to create Dynamic DNS zones in Network Environments. Video Transcription: Now that we’ve installed DNS, we’ve created our DNS zones, the next step is now, how do we produce those … Continue reading Creating Dynamic DNS in Network Environments
Cable Testers and How to Use them in Network Environments
This content is from our CompTIA Network + Video Certification Training Course. Start training today! In this video, CompTIA Network + instructor Rick Trader demonstrates how to use cable testers in network environments. Let’s look at some tools that we can use to test our different cables in our environment. Cable Testers Properly Wired Connectivity … Continue reading Cable Testers and How to Use them in Network Environments
See what people are saying...