How to add a Web Part Connection using SharePoint Designer 2010

Many times it is helpful to create what we call a master details type of view on some data. For example, I have a list of SharePoint Courses and I find it easier to keep all of the data about each course in a single list and use SharePoint 2010's out-of-the-box view engine to present the data as needed via web parts. I don't need to do any custom programming to get a wide variety of views on the course data.
In this blog I will set up a web page that will allow users to click on an icon next to a course number and see the actual course outline in a web part below.
In order to do this I will use the following steps:
- Create a Custom List and add some data to the list.
- Create a Custom View called CourseOutline and edit the Tabular View to remove the Allow individual item checkboxes setting on this view.
- Create a new page and insert 2 web parts pointing at the courseOutlines List.
- Edit the titles of the web parts to Course and Outline.
- Attach the custom CourseOutline View to the bottom web part.
- Open the site in SharePoint Designer 2010 and edit the Page.
- Add a web part connection.
- Test the page.
Custom List
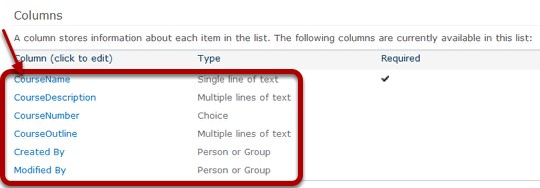
I have prepared an out-of-the-box team site at the top level site of a new site collection for this demonstration. I have already created a list called courseOutlines and populated it with data. The image above shows the Columns and their respective data types (I changed the title column to CourseName)
(image of columns)
Custom View
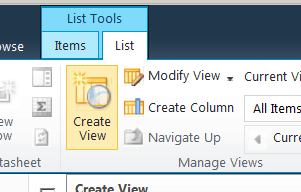
Create a Custom View called CourseOutline. I do this by choosing the List tab and clicking on the Custom View Icon.
Standard View
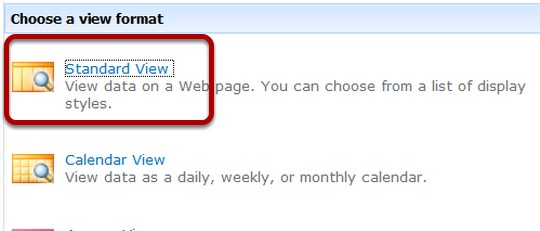
I select Standard View.
Outline
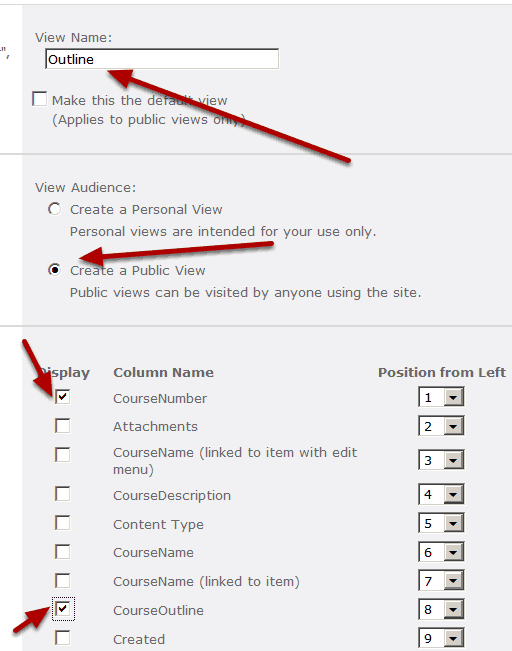
I name the View Outline, leave the default since it is a Public View, and select only 2 columns:CourseNumber and CourseOutline. I then scroll down so that I can edit the Tabular view section.
Tabular View
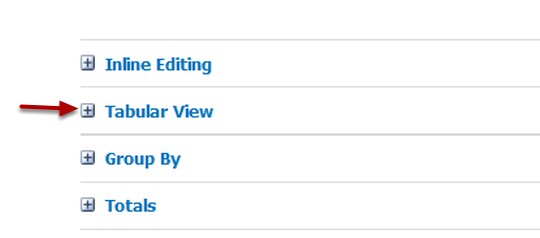
I click the + icon next to Tabular View.
Change Setting

I uncheck the box next to Allow individual item checkboxes. I don't need users to be able to select individual items in this view. I scroll down and click OK (not shown)
Verify View
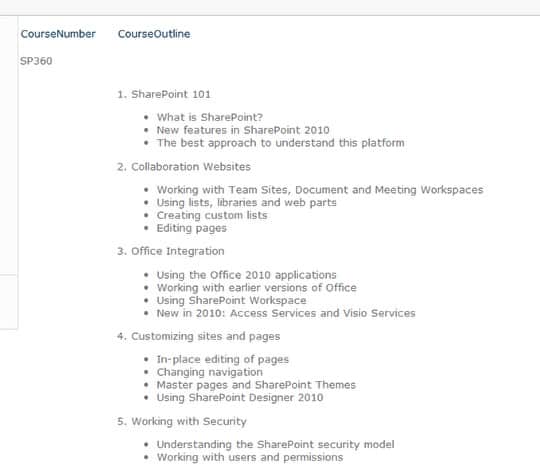
I check the view and since this is what I want I move on to creating the page.
Create Page
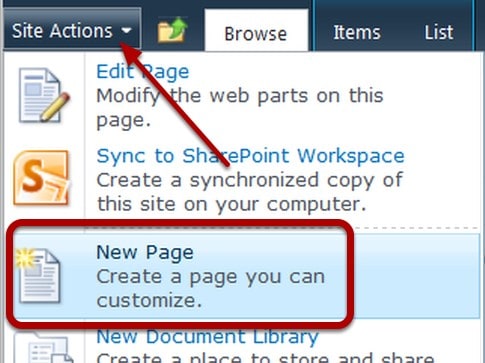
I click Site Actions>New Page
Name Page
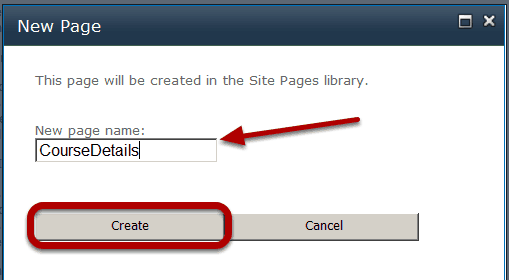
I name the page CourseDetails and click Create.
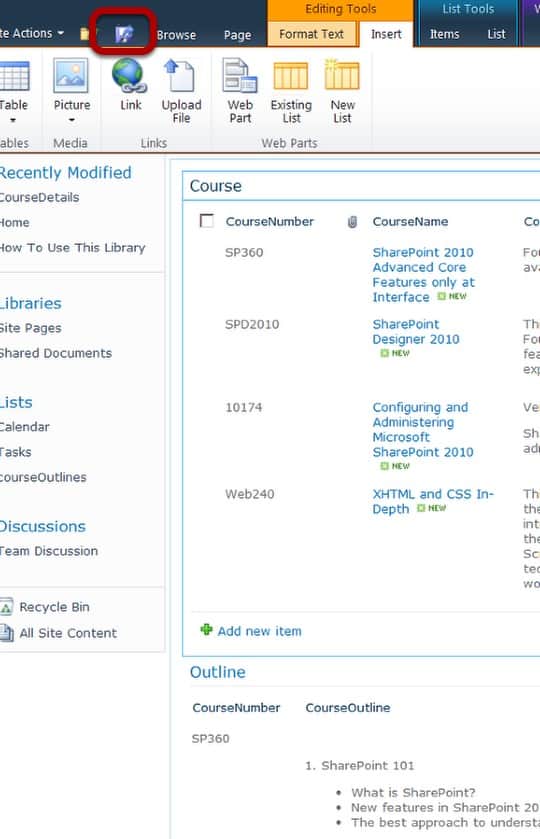
Insert First Web Part
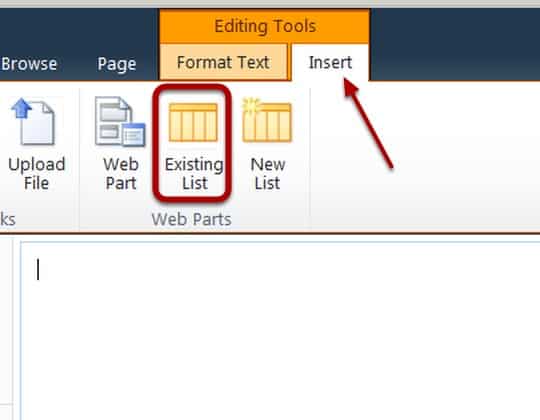
I select the Insert tab and click on Existing List in order to insert the web part that will show the courses.
Course Outlines
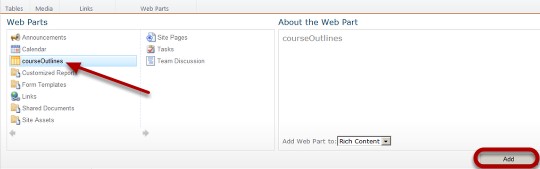
I select courseOutlines from the Web Parts Gallery and click on Add.
Repeat
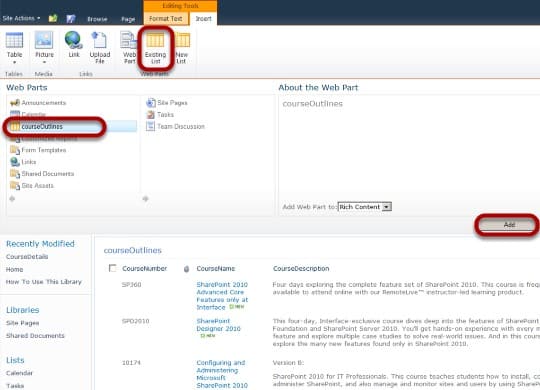
I repeat the insert web part process to place a duplicate web part below the first one.
Edit Bottom Web Part
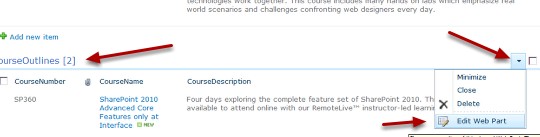
I click on the black triangle (ufo reference LOL) and select Edit Web Part from the menu that appears.
Select View

I Select Outline from the Selected View drop down menu and then I click the + sign next to Appearance so I can change the title of the Web Part.
Change Web Part Title
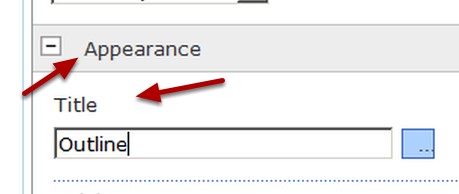
I change the Title of the bottom web part to Outline, then I click OK (not shown).
Edit Title of Top Web Part

I select the black triangle glif on the top web part and choose edit web part.
Change Title
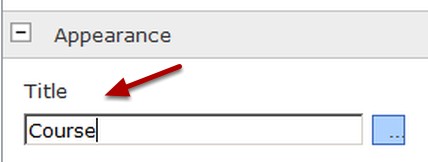
I expand Appearance and change the title to Course and click OK (not shown)
Save Page
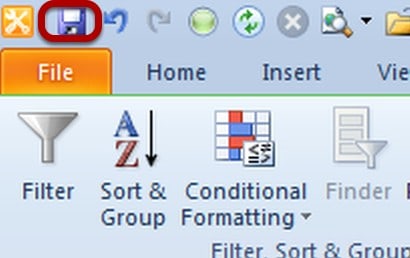
I click the Save Icon.
Edit inSharePoint Designer
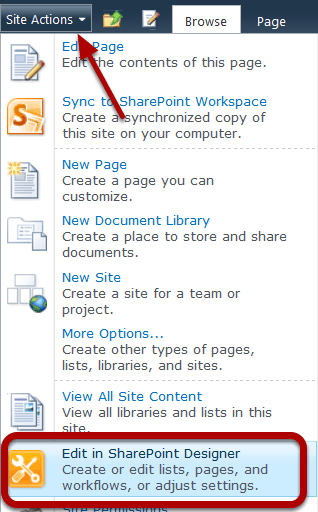
I choose Site Actions > Edit in SharePoint Designer to open the site in SharePoint Designer 2010 where I will add the web part connection.
Site Pages
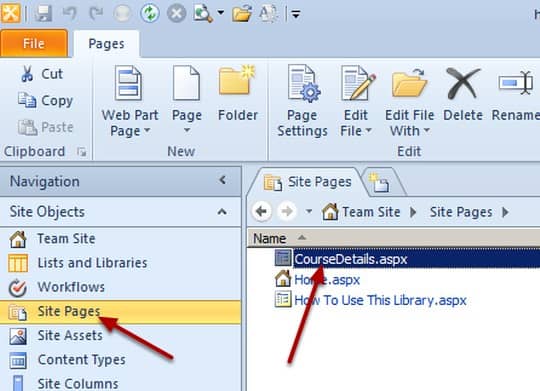
I select Site Pages in the Navigation Pane, and click on the CourseDetails.aspx link which opens the summary page.
Edit File
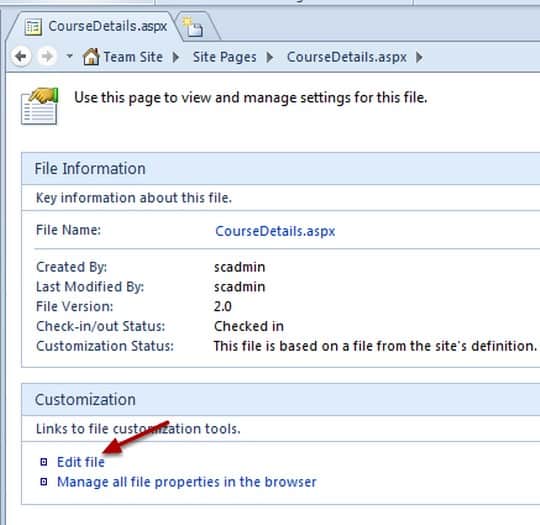
I click on the Edit file link in the Customization section of the Summary page.
Add Connection
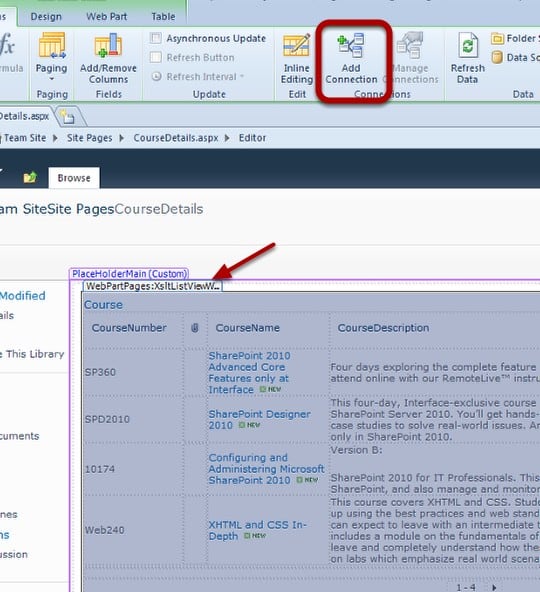
I make sure to select the WebPartPages:XsltListViewWebPart and then click Add Connection from the ribbon.
Set Up Connection
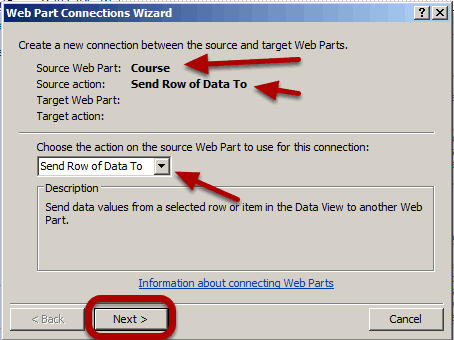
I leave the defaults here which is for the Course Web part to Send Row of Data To and click Next.
Get Filter Values From
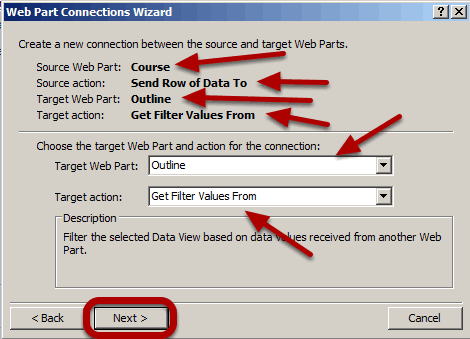
In this case the Web Part Connection Wizard is pretty intuitive and has correctly summized that I want to connect to the Outline web part so I click Next.
Map the Fields
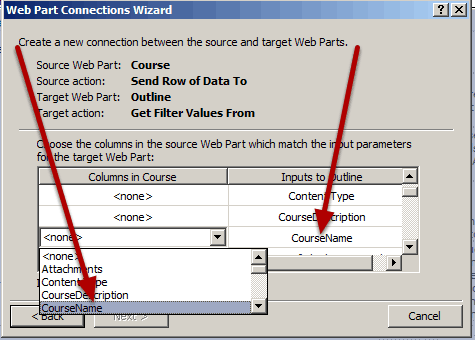
I click in the Columns in Course table and select CourseName in the Inputs to Outline CourseName row to map those columns.
Check Settings
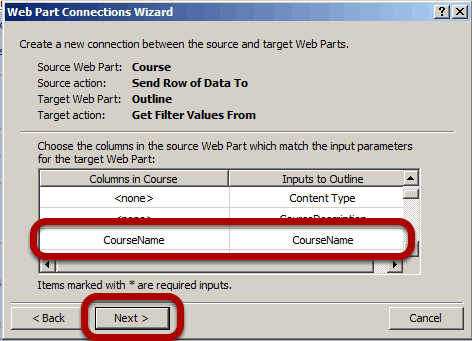
I check the settings and click Next.
Finish
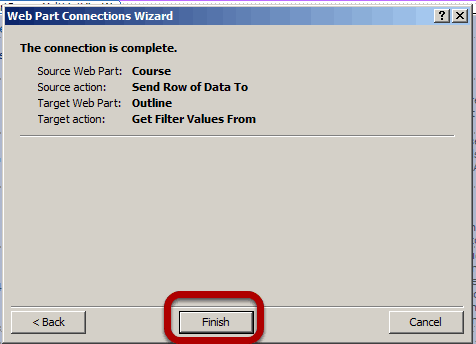
I click Finish.
Save the Changes
I make sure to click the Save Icon in SharePoint Designer 2010 then I close the program. I click yes to the prompt.
Refresh the Page and try it out
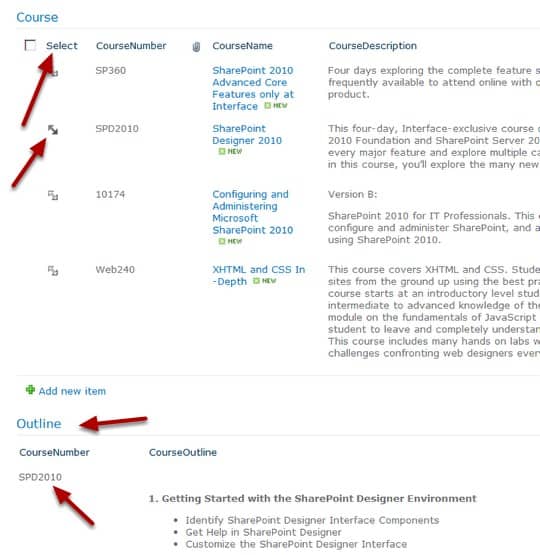
I go ahead and refresh the page then I will see the small glyphs to the left of the CourseNumber with a new Select column.
Depending on your list, web part, and columns you choose during the Web Part Connection Wizard you might be presented with the option to present the 'Filter' column as a hyperlink but in this example that was not the case. If you click on the Gyph the course outline will change accordingly. I clicked on the Glyph next to SPD2010 and noticed the Outline web part changed accordingly.
This is a very useful skill to have in SharePoint 2010.
Enjoy!
Spike Xavier
SharePoint Instructor – Interface Technical Training
Phoenix, AZ


A Simple Introduction to Cisco CML2
Mark Jacob, Cisco Instructor, presents an introduction to Cisco Modeling Labs 2.0 or CML2.0, an upgrade to Cisco’s VIRL Personal Edition. Mark demonstrates Terminal Emulator access to console, as well as console access from within the CML2.0 product. Hello, I’m Mark Jacob, a Cisco Instructor and Network Instructor at Interface Technical Training. I’ve been using … Continue reading A Simple Introduction to Cisco CML2
Creating Dynamic DNS in Network Environments
This content is from our CompTIA Network + Video Certification Training Course. Start training today! In this video, CompTIA Network + instructor Rick Trader teaches how to create Dynamic DNS zones in Network Environments. Video Transcription: Now that we’ve installed DNS, we’ve created our DNS zones, the next step is now, how do we produce those … Continue reading Creating Dynamic DNS in Network Environments
Cable Testers and How to Use them in Network Environments
This content is from our CompTIA Network + Video Certification Training Course. Start training today! In this video, CompTIA Network + instructor Rick Trader demonstrates how to use cable testers in network environments. Let’s look at some tools that we can use to test our different cables in our environment. Cable Testers Properly Wired Connectivity … Continue reading Cable Testers and How to Use them in Network Environments
See what people are saying...