How to install Windows 7 or Server 2008R2 from a Virtual Hard Disk (VHD) Part 1
How to install Windows 7 or Server 2008R2 from a Virtual Hard Disk (VHD) Part 1
If you need to facilitate testing of Windows Server 2008 R2 in your current environment but desire minimal impact to the existing configuration, there is a new feature in Windows 7 and Server 2008 R2 called Native Boot from VHD that will allow this scenario to be accomplished with minimal impact. A VHD is a file representing a virtual disk that will be used to boot the new operating system. The below instructions will work for both Windows 7 and Windows Server 2008 R2 Operating Systems.
There are 2 methods to create and mount a VHD file. The first method is to use the Disk Manager MMC to create and mount the VHD. The Second method is to create and mount the VHD during the installation of the operating system. In the demonstration below I will use the second method.
In the below example Windows 7 will be installed and I will install Windows Server 2008 R2 onto a VHD.
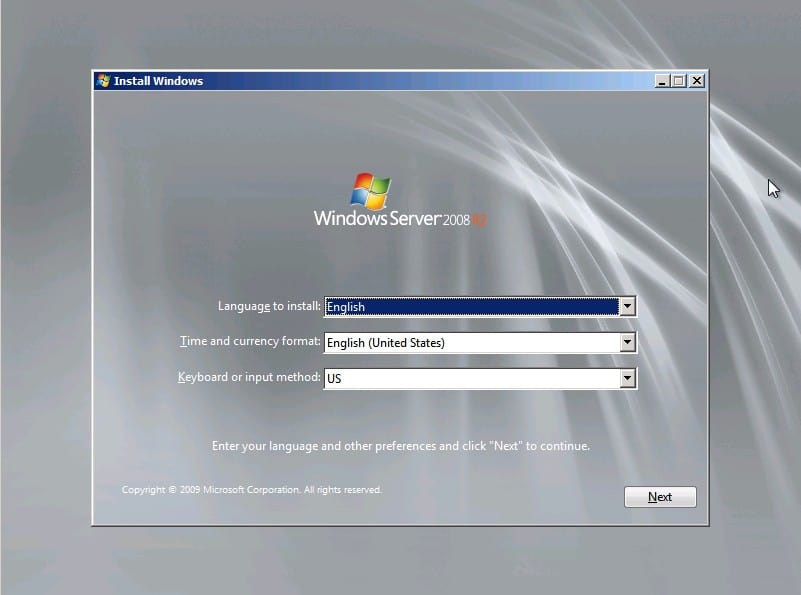
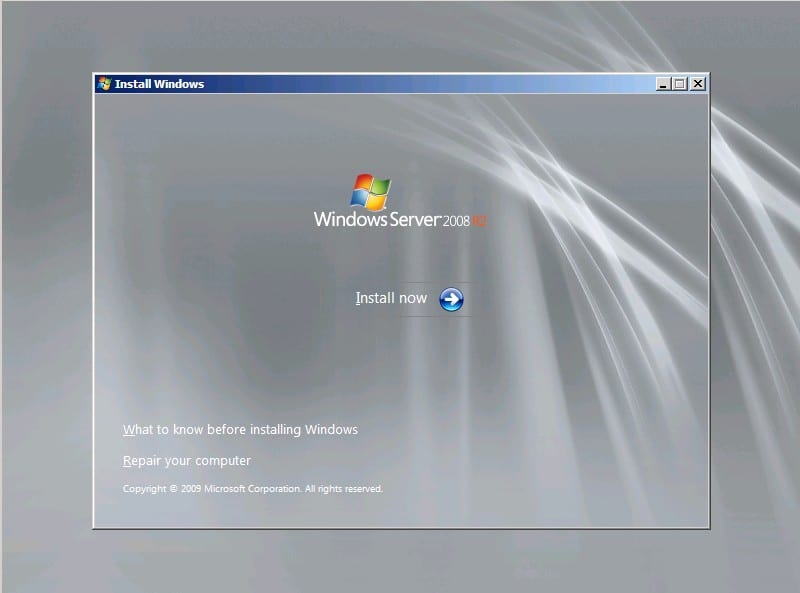
Restart your computer from the Windows Server 2008 R2 DVD.
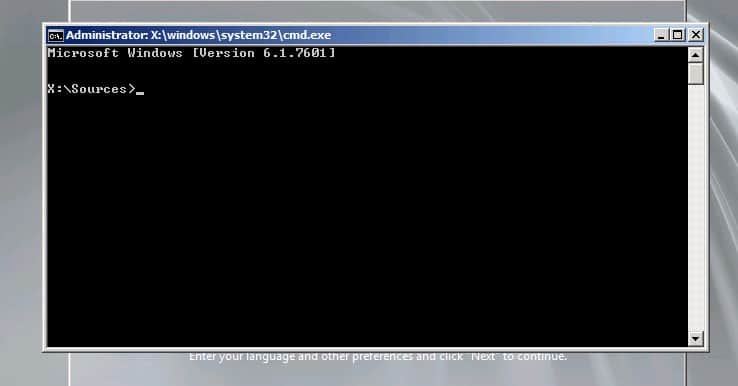
Instead of clicking next and proceeding with the installation, press Shift + F10.
Pressing Shift + F10 will cause the setup program will launch a command prompt.
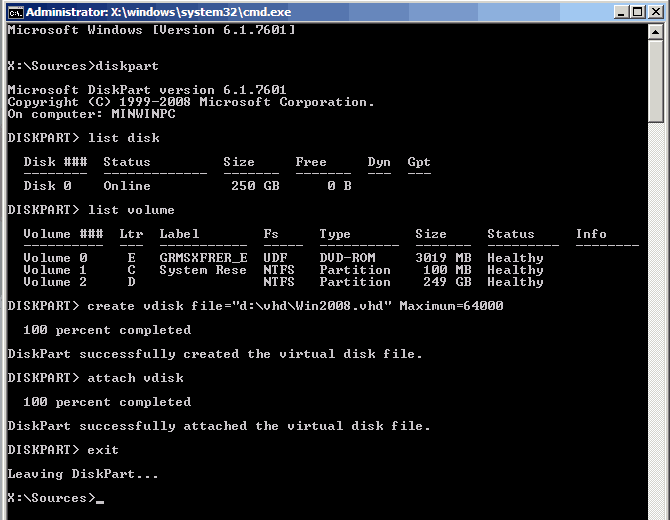
I will use the Diskpart.exe utility to create a virtual disk (*.vhd) to install the Windows Server 2008 R2 operating system into.
Note: When booting from a *.VHD file ensure there is enough space to expand the file onto the existing partition.
Listing of commands used.
List Disk – Used to list the physical disks currently in the computer.
List Volume – Used to list the current volume on the selected disk.
Create Vdisk – Creates a virtual disk
File= – Used to identify the path to the file used for the virtual disk. Path must be enclosed with “ “
The above example the virtual disk was created in the “D:” volume in a folder called “VHD” with a file name of “Sin2008.vhd”.att
Maximum= – Used to set the size of the virtual disk (configured in MB).
Attach vdisk – Attaches the newly created virtual disk
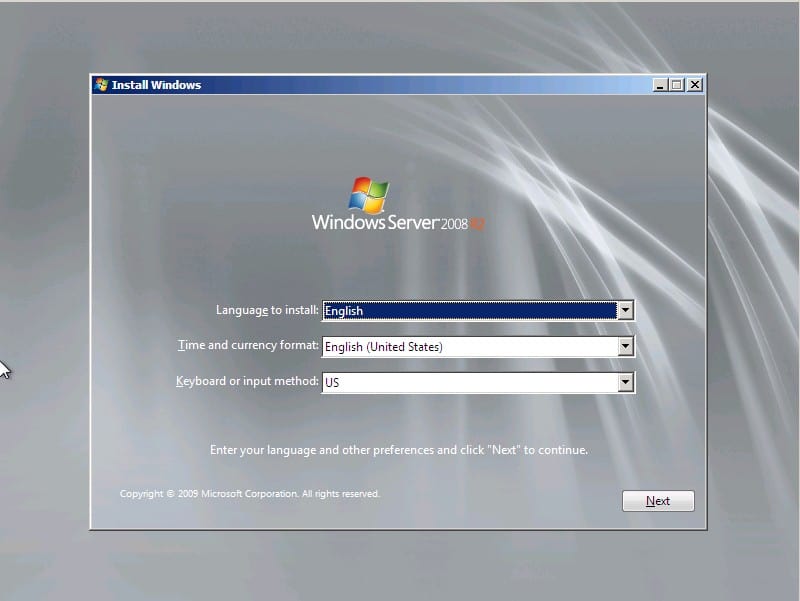
Type “exit” twice to exit the Diskpart and command prompt screens to enter back into the setup program.
Select “Next” to continue the installation of Windows Server 2008 R2
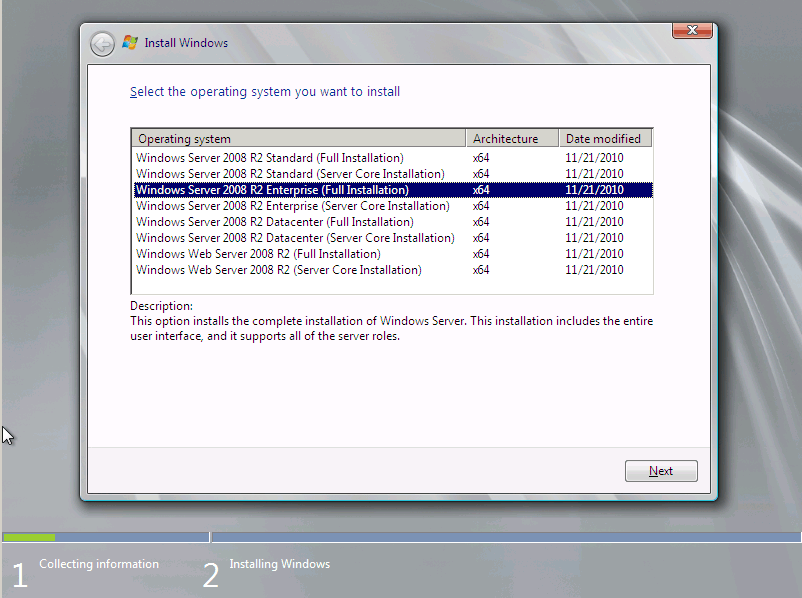
Select “Install Now”, choose your desired operating system select “Next”
Accept the License agreement, select “Next”.
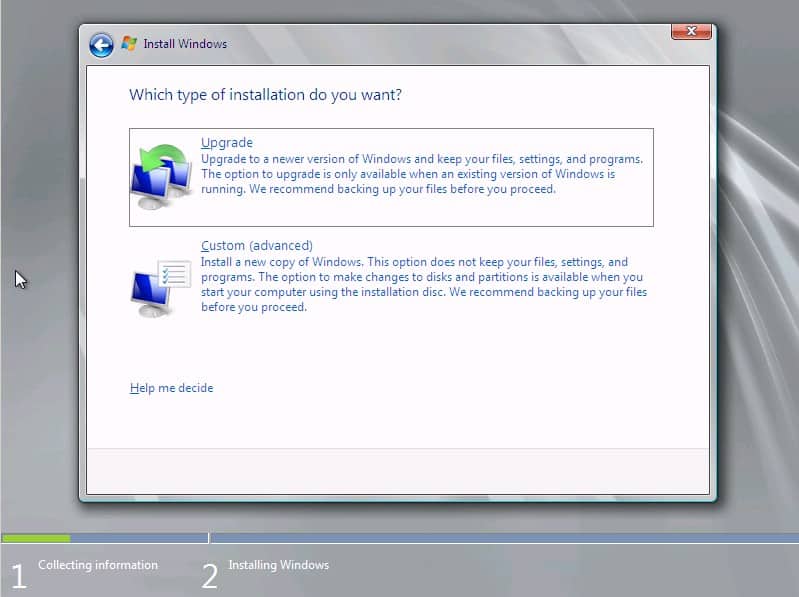
Select “Custom (Advanced)"
In this demo Disk 1 Unallocated Space is the virtual disk that has been mounted. Select Disk 1, to partition and format the disk, then select “Drive options (advanced)”. In this demo I will be using the entire disk for the installation.
Select Disk 1, click “New”, select “Apply”, select “Next”
The operating system will be installed and will be listed in the Operating System Menu screen.
Next time we will walk through adding a preconfigure VHD to the Operating System Menu screen.
Until next time, ride safe!
Rick Trader
Windows Server Instructor – Interface Technical Training
Phoenix, AZ
For more information, see the following posts in this series of posts on manipulating the Windows 7 Boot Configuration Database (BCD).
Part 1: How to install Windows 7 or Server 2008R2 from a Virtual Hard Disk
Part 2: How to install Windows 7 or Server 2008R2 from a Virtual Hard Disk (VHD)
Part 3: What happened to my BOOT.INI file?
Part 4: How to use BCDEDIT to add menu items to the selection screen in Win Server & Win7
Part 5: How to dual boot Windows 7 and Windows XP using BCD
You May Also Like
Disc Manager, Diskpart.exe, MMC, Server 2008R2 VHD, VHD, virtual disk, Windows 7 VHD
A Simple Introduction to Cisco CML2
0 3901 0Mark Jacob, Cisco Instructor, presents an introduction to Cisco Modeling Labs 2.0 or CML2.0, an upgrade to Cisco’s VIRL Personal Edition. Mark demonstrates Terminal Emulator access to console, as well as console access from within the CML2.0 product. Hello, I’m Mark Jacob, a Cisco Instructor and Network Instructor at Interface Technical Training. I’ve been using … Continue reading A Simple Introduction to Cisco CML2
Creating Dynamic DNS in Network Environments
0 643 1This content is from our CompTIA Network + Video Certification Training Course. Start training today! In this video, CompTIA Network + instructor Rick Trader teaches how to create Dynamic DNS zones in Network Environments. Video Transcription: Now that we’ve installed DNS, we’ve created our DNS zones, the next step is now, how do we produce those … Continue reading Creating Dynamic DNS in Network Environments
Cable Testers and How to Use them in Network Environments
0 731 1This content is from our CompTIA Network + Video Certification Training Course. Start training today! In this video, CompTIA Network + instructor Rick Trader demonstrates how to use cable testers in network environments. Let’s look at some tools that we can use to test our different cables in our environment. Cable Testers Properly Wired Connectivity … Continue reading Cable Testers and How to Use them in Network Environments


Pingback: What happened to my BOOT.INI file? | | Interface Technical Training BlogInterface Technical Training Blog
Pingback: How to use BCDEDIT to add menu items to the selection screen in Windows Server and Win7 | | Interface Technical Training BlogInterface Technical Training Blog
Pingback: How to dual boot Windows 7 and Windows XP using BCD Configuration Database Interface Technical Training Blog
Pingback: Install Windows 7 or Server 2008R2 from a Virtual Hard Disk VHD part2 | Interface Technical Training Blog