Publish a Form with InfoPath Forms Services for SharePoint 2010

In this blog I will go through the process of creating and then publishing a simple form to be used as a template in SharePoint 2010 using Forms Services. This feature is only available in the Enterprise Version of SharePoint 2010.
I will perform the following steps:
1. Ensure the Forms Services Feature is enabled at the Site Collection and Target Site level.
2. Create the form in Info Path Designer 2010
3. Publish the form to SharePoint.
4. Test the form in the browser.
Site Collection Features
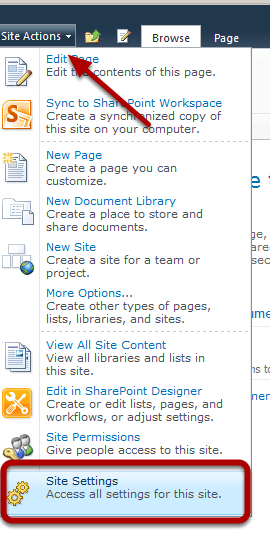
From the home page of the top level site of a site collection I choose Site Actions>Site Settings (I am a site collection administrator).

I click on Site Collection Features under Site Collection Administration.

I scroll down to the Site Collection Features and verify that the SharePoint Server Enterprise Site Collection features feature is activated, which it is by the blue Active icon.
Site Features
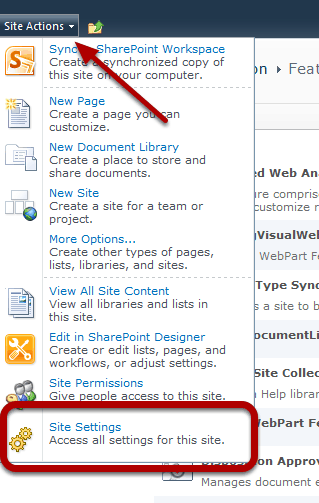
I go to Site Actions>Site Settings
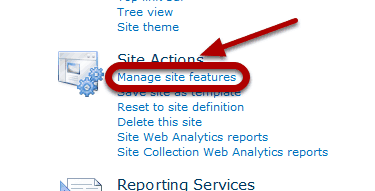
This time I click on Manage site features in the Site Actions heading.

I verify that the SharePoint Server Enterprise Site Features is activated. (Which it is). Now that I have verified that Forms Services is activated correctly I'm ready to design my form. Since the focus is on how to get the form into SharePoint as a template I will keep the form very, very simple.
InfoPath

I open up Microsoft InfoPath Designer 2010. There are now two parts to Info Path. Designer and Filler. Since I am designing a form I use Designer.
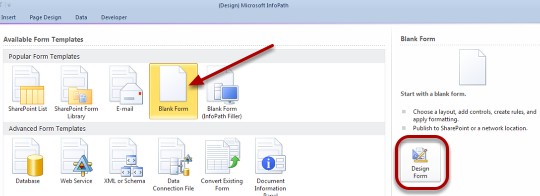
I select Blank Form and push the Design form button.

For the purposes of this blog I will simply change the Form title. Info Path Form designing is a powerful skill to have. Normally when I am designing an info path form I start with building out the Schema and then drag the main sections onto the Form to build out the controls. In this blog I am focusing on the process of publishing the form I design into SharePoint to be used as a template so I'm keeping it really, really simple.
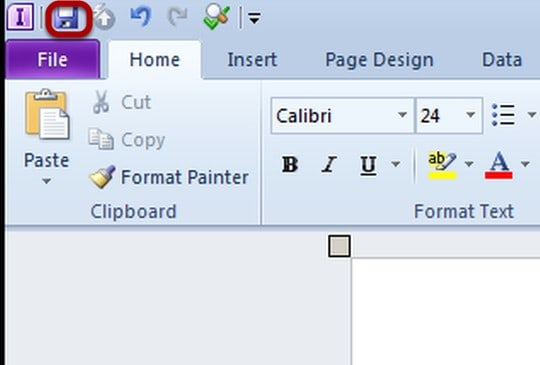
At this point optionally I can save the form template. I normally do in case I want to make some changes later on, so I click the Save Icon.

At this point optionally I can save the form template. I normally do in case I want to make some changes later on, so I click the Save Icon. I save the form template (.xsn) file to my desktop (not shown).
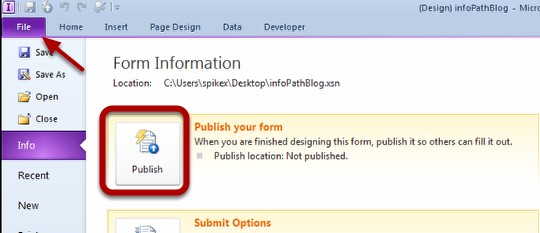
To publish the form template to SharePoint I hit File> Publish
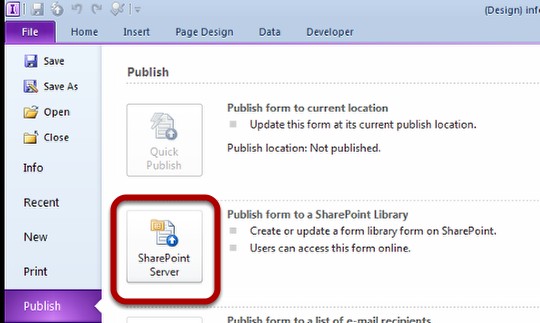
I select SharePoint Server.
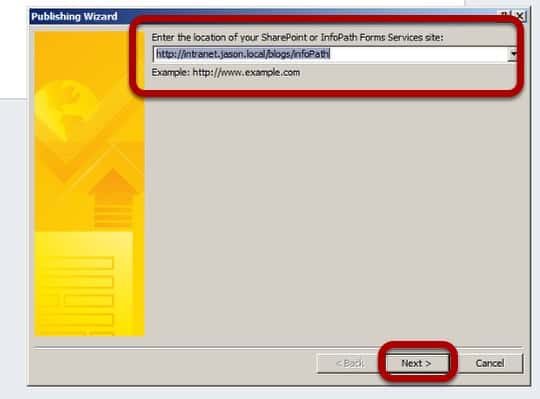
I put in the address of my site and push next.
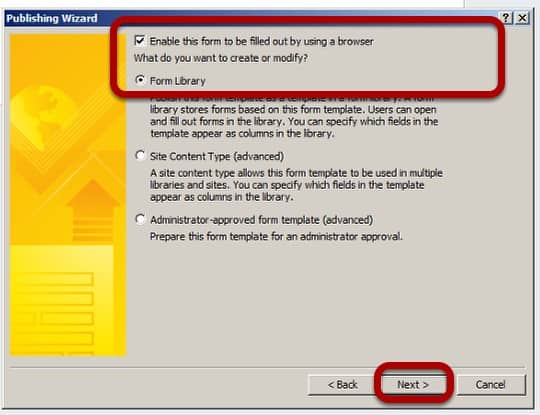
For this example I'll leave these settings as is and hit next.
For this example I'll leave these settings as is and hit next.
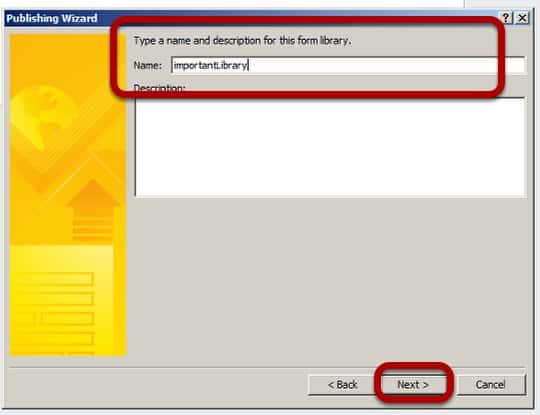
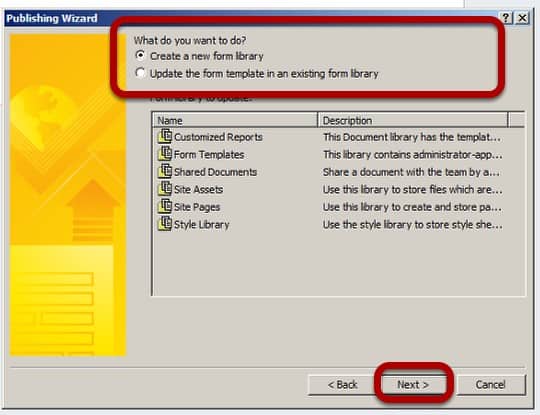
When SharePoint executes this process it's going to create a new form library for me and use my form template as the template for that library. I'll call this library 'importantLibrary' and hit Next.
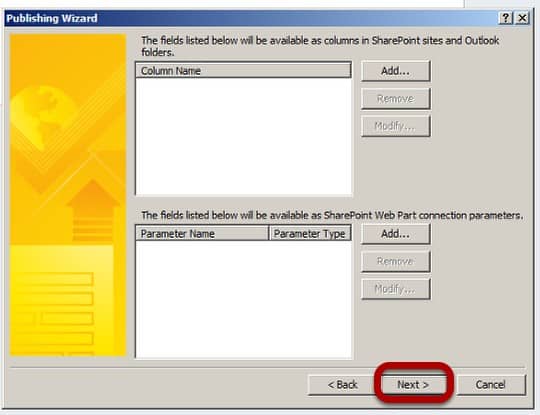
For this blog I hit next.
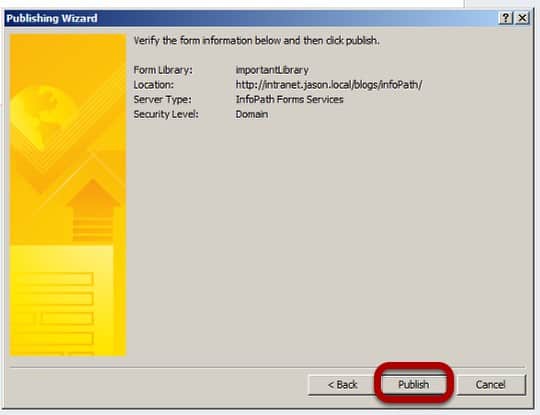
I verify my settings and then hit Publish. (I am prompted for credentials from SharePoint so i put them in (not shown)
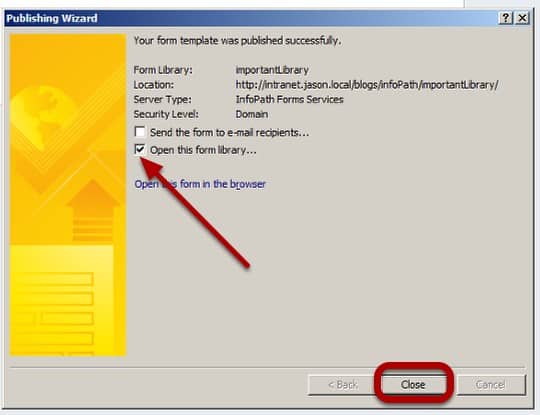
I check the box to Open this form library and hit Close.
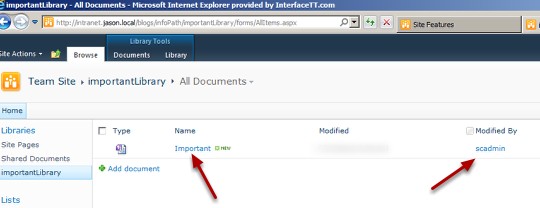
SharePoint Form Library
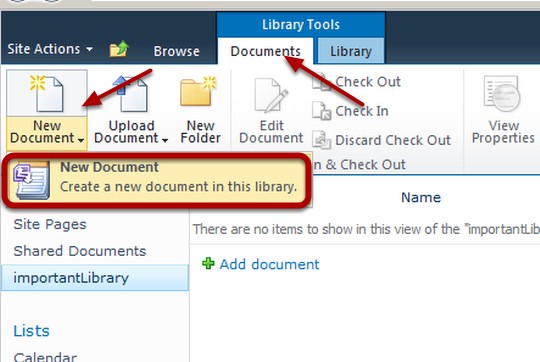
I select Documents in the Ribbon and click New Document
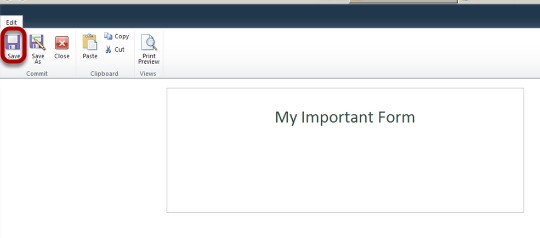
My Important Form opens in the Browser. If I had any fields I could fill them out here. (The fields would be columns in SharePoint. ) Since i don't I just click Save.
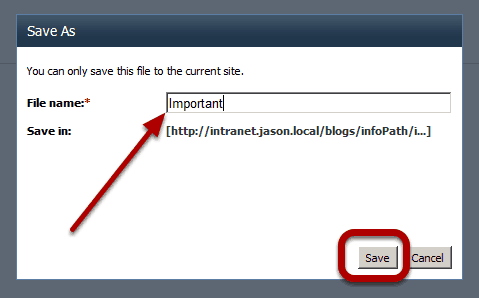
I name the file (in this case I named it Important) and hit save.
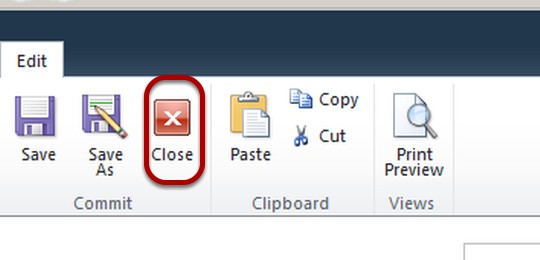
I hit close.
That's it. The focus of this blog is on publishing a form template to SharePoint 2010 using Info Path Designer 2010 and Forms Services.
Enjoy!
Spike Xavier
SharePoint Instructor – Interface Technical Training
Phoenix, AZ


A Simple Introduction to Cisco CML2
Mark Jacob, Cisco Instructor, presents an introduction to Cisco Modeling Labs 2.0 or CML2.0, an upgrade to Cisco’s VIRL Personal Edition. Mark demonstrates Terminal Emulator access to console, as well as console access from within the CML2.0 product. Hello, I’m Mark Jacob, a Cisco Instructor and Network Instructor at Interface Technical Training. I’ve been using … Continue reading A Simple Introduction to Cisco CML2
Cable Testers and How to Use them in Network Environments
This content is from our CompTIA Network + Video Certification Training Course. Start training today! In this video, CompTIA Network + instructor Rick Trader demonstrates how to use cable testers in network environments. Let’s look at some tools that we can use to test our different cables in our environment. Cable Testers Properly Wired Connectivity … Continue reading Cable Testers and How to Use them in Network Environments
Data Models in Business Analysis
This video is from our PMI-PBA Business Analysis for IT Analysts and Project Managers (PMI-PBA)® Certification now available at Interface Technical Training. Also see Steve’s PMP Project Management Certification Course: Project Management Professional (PMP®) Certification Video Training PMBOK® 6th Edition Video Transcription: Data Models are part of the elicitation analysis in PMI-PBA. This is the way … Continue reading Data Models in Business Analysis