Setting Default Metadata Values in SharePoint 2010

In this blog I will be migrating several documents from a file share into SharePoint 2010. On the file share they are unstructured data. When we migrate them into SharePoint they will be seen as the content type courseOutline and they will have an Instructor and technical department site column attached to them as metadata. In order to save time we will be using the feature of Column default values for metadata columns in SharePoint 2010. In order to understand this process it is important that you have a grasp of the concepts in the following two blog entries:
Creating Site Columns and Custom Lists in SharePoint 2010
Creating a Custom Content Type in SharePoint 2010
I have set up a new site collection and created a custom content type courseOutline with the site columns Instructor and technicalDepartment both are choice columns.
I have added a folder structure to mimic the file share and I have adjusted the default view to include the site columns, including Title.
Match Folder Structure
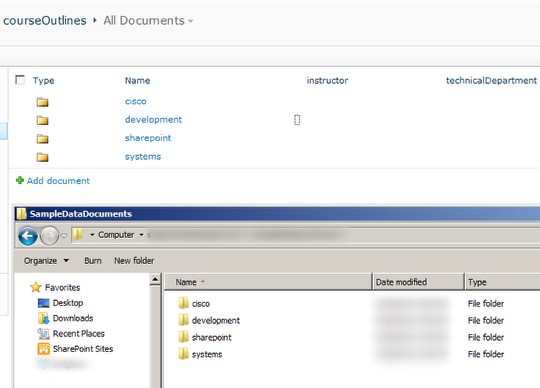
I match the folder structure of my file share. If I wanted a different structure, I would do that here but in this case, I am migrating data into SharePoint and changing it from unstructured data to proper content types with searchable metadata.
Click Library Library Settings
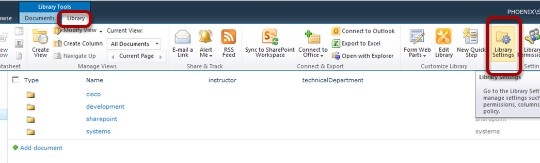
I click the Library Tab and then the Library Settings icon in the ribbon.
Click Column Default Value Settings
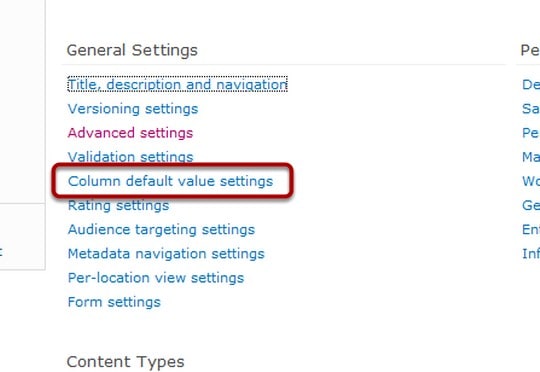
I click on Column default value settings under General Settings on the List Settings page.
Select the folder
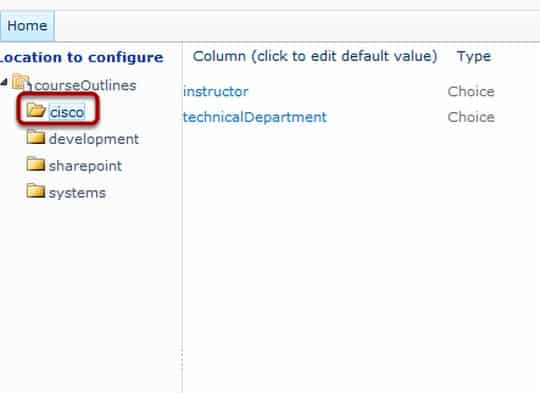
I select the Cisco folder since this is the first one I want to set the default values for.
Set default values for Instructor
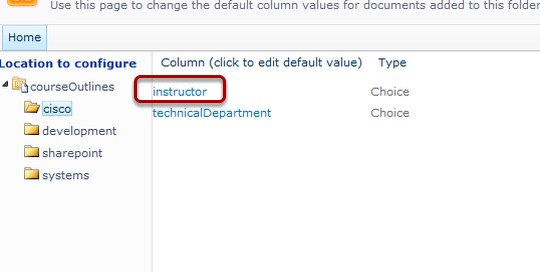
I select Instructor by clicking on the Column link.
Edit Default Value
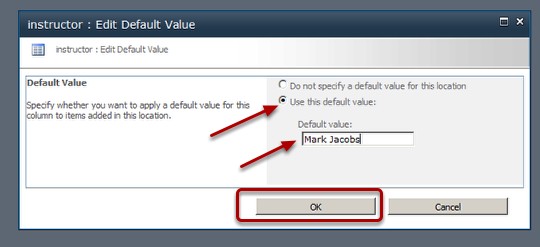
I choose the radio button Use this default value: and add in Mark Jacobs (the Cisco Instructor) Then click OK.
Set default value for technicalDepartment
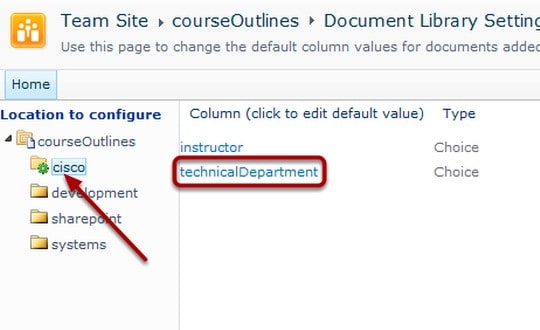
I click the link for technicalDepartment (notice the green icon now on the Cisco folder since a default value has been set for this location.)
Fill in Modal Window form
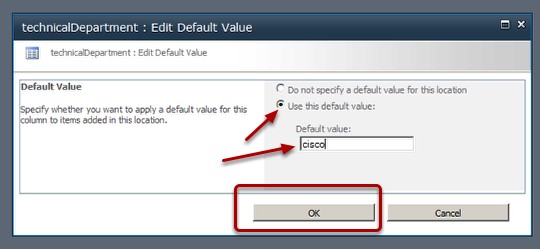
I select the radio button to Use this default value: and then set the Default value to Cisco. It is important to set the value to the exact match for one of the values in the choice column. Then I click OK.
Repeat process for development
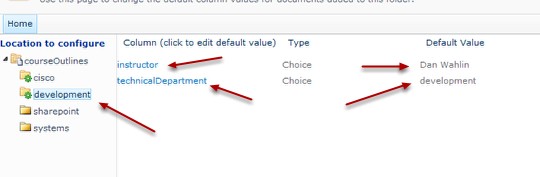
I repeat the process I used for setting the values in the Cisco folder but this time I click the Development folder in the Location to configure column and set the default values appropriate to development outlines.
Repeat process for SharePoint

I repeat the process I used for setting the values in the Cisco and Development folders, but this time I click the SharePoint folder in the Location to configure column and set the default values appropriate to sharepoint outlines.
Repeat process for Systems
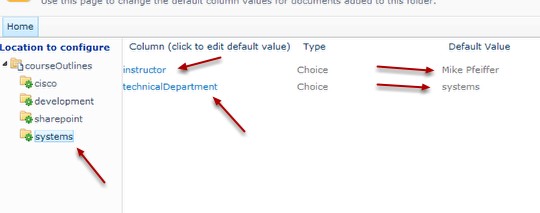
I repeat the process I used for setting the values in the Cisco, Development, and SharePoint folders, but this time I click the Systems folder in the Location to configure column and set the default values appropriate to systems outlines.
Return to courseOutlines Library
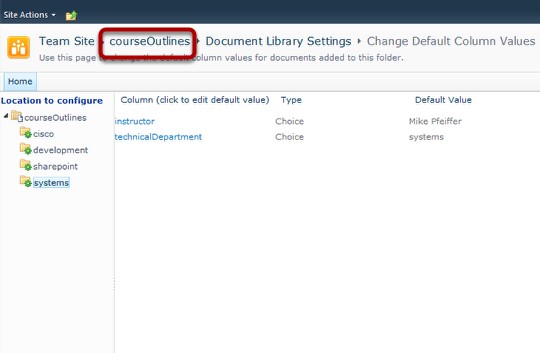
Using the breadcrumb, I return to the courseOutlines document Library which is now properly set up.
Go to Cisco folder
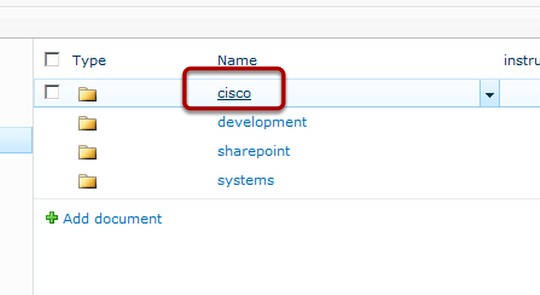
I click on the Cisco folder to get into it.
Click Add document
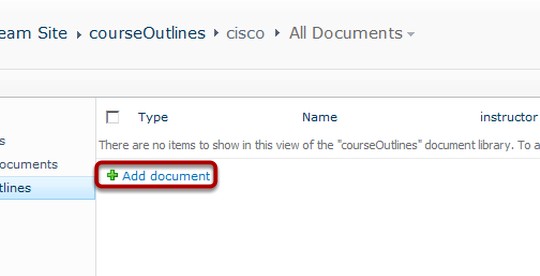
I click the Add document link.
Click Upload Multiple Files
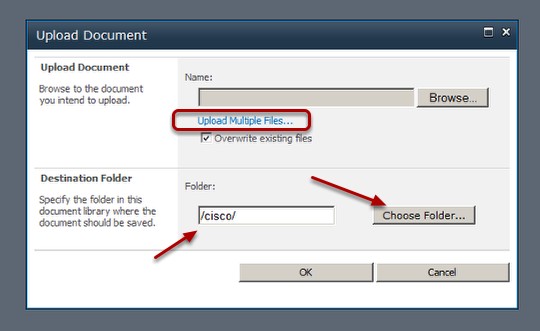
I click the Upload Multiple Files link (notice that I could have just done this from the courseOutlines document library because you can choose a folder in this modal window).
Browse for files instead
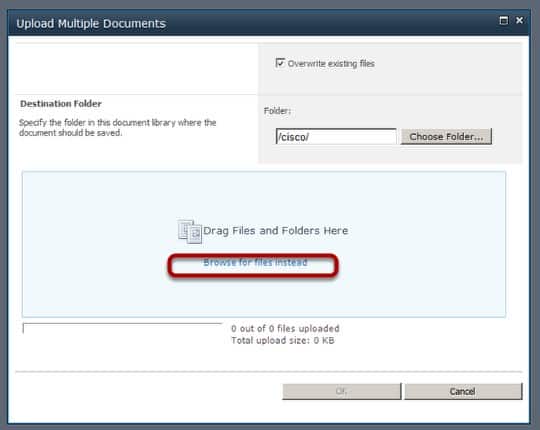
You can drag files into the Drag Files and Folders Here Silverlight control or you can click Browse for Files instead. You can only upload up to 100 files at a time in this way.
Select files to upload
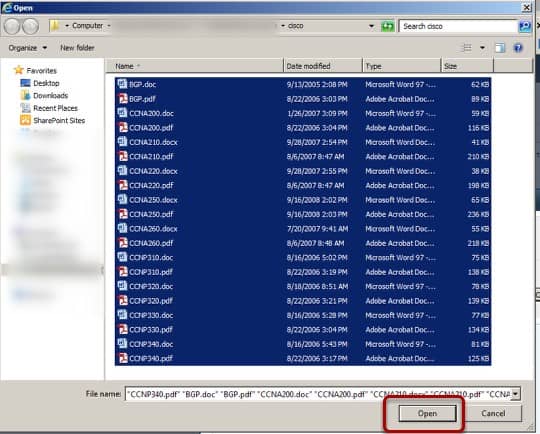
I select the top document and then holding the shift key down select the bottom document which selects them all then click the Open button.
Click OK
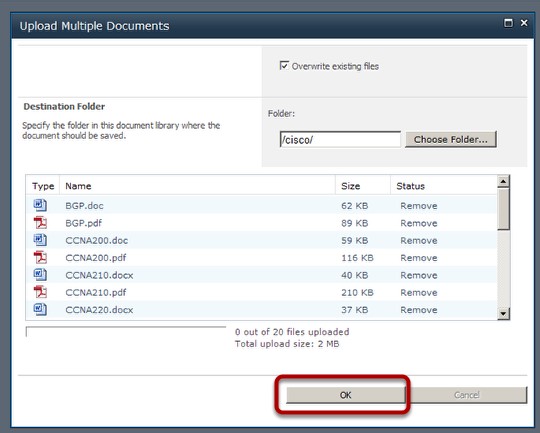
I verify the items in the window then click OK.
Verify status
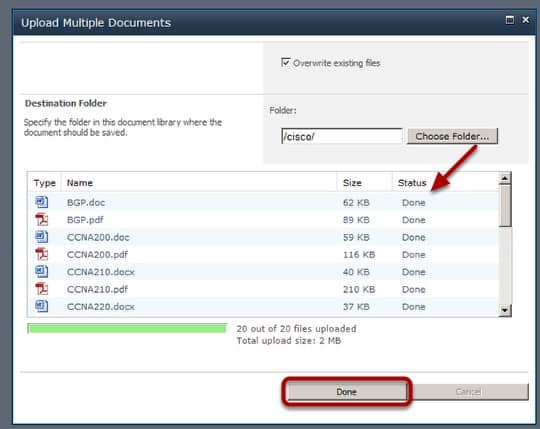
I verify that the status shows done, then I click the Done button.
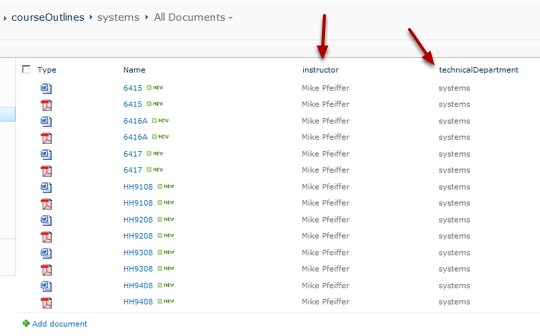
Validate results
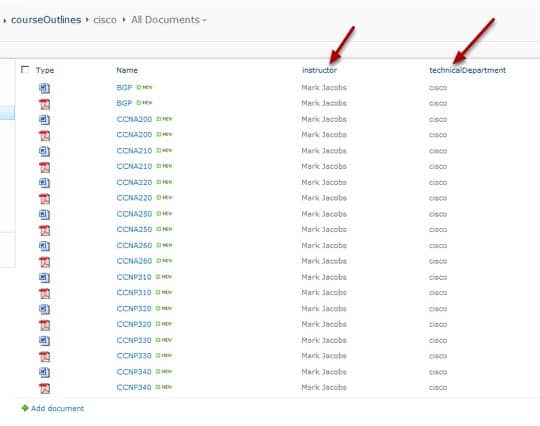
I check to make sure that the instructor column has the value Mark Jacobs and that the technical department is now Cisco. I will then repeat the process for the other folders.
Repeat steps for Development folder

I repeat the steps for adding documents to the Cisco folder but this time I upload the documents from the Development folder on the file share to the Development folder in the courseOutlines document library.
Repeat steps for SharePoint folder
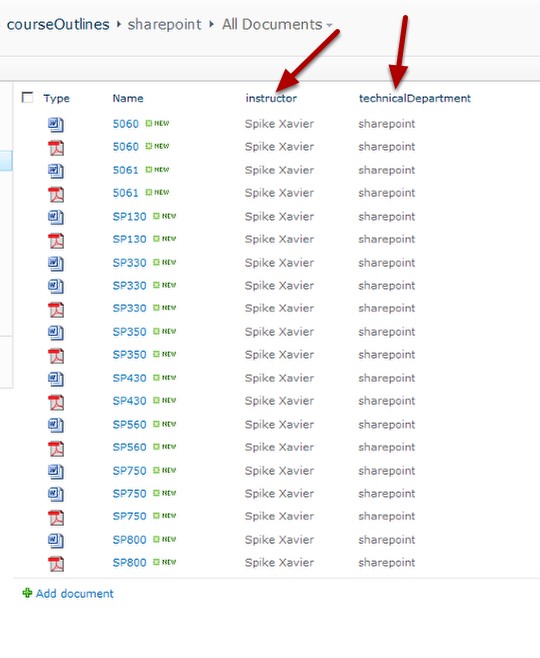
I repeat the steps for adding documents to the Cisco folder but this time I upload the documents from the SharePoint folder on the file share to the SharePoint folder in the courseOutlines document library.
Repeat steps for System folder
I repeat the steps for adding documents to the Cisco folder but this time I upload the documents from the Systems folder on the file share to the Systems folder in the courseOutlines document library. I have now successfully uploaded many documents from the unstructured world of the file share into the content type structured world of SharePoint 2010 using default column value settings!
Enjoy!
Spike Xavier
SharePoint Instructor – Interface Technical Training
Phoenix, AZ


A Simple Introduction to Cisco CML2
Mark Jacob, Cisco Instructor, presents an introduction to Cisco Modeling Labs 2.0 or CML2.0, an upgrade to Cisco’s VIRL Personal Edition. Mark demonstrates Terminal Emulator access to console, as well as console access from within the CML2.0 product. Hello, I’m Mark Jacob, a Cisco Instructor and Network Instructor at Interface Technical Training. I’ve been using … Continue reading A Simple Introduction to Cisco CML2
Cable Testers and How to Use them in Network Environments
This content is from our CompTIA Network + Video Certification Training Course. Start training today! In this video, CompTIA Network + instructor Rick Trader demonstrates how to use cable testers in network environments. Let’s look at some tools that we can use to test our different cables in our environment. Cable Testers Properly Wired Connectivity … Continue reading Cable Testers and How to Use them in Network Environments
Data Models in Business Analysis
This video is from our PMI-PBA Business Analysis for IT Analysts and Project Managers (PMI-PBA)® Certification now available at Interface Technical Training. Also see Steve’s PMP Project Management Certification Course: Project Management Professional (PMP®) Certification Video Training PMBOK® 6th Edition Video Transcription: Data Models are part of the elicitation analysis in PMI-PBA. This is the way … Continue reading Data Models in Business Analysis
Pingback: How to use Metadata Navigation in SharePoint 2010 | Interface Technical Training