Using PowerShell to convert to the MiniShell on a Server 2012 R2 Datacenter Core Edition

You initially installed Windows Server 2012 R2 Datacenter Core Edition now you want to convert the installation to include the MiniShell to take care of some administrative tasks. Once the MiniShell has been installed you will have access to all the features of the graphical Server Manager tool.
In this blog I will show you the steps to convert to the MiniShell.
Use the Deployment Image Servicing and Management (DISM.EXE) to determine the index number of the desired operating system in the install.wim file.
- Open an Administrative Command Prompt.
- Type dism /get-imageinfo /imagefile:d:\sources\install.wim
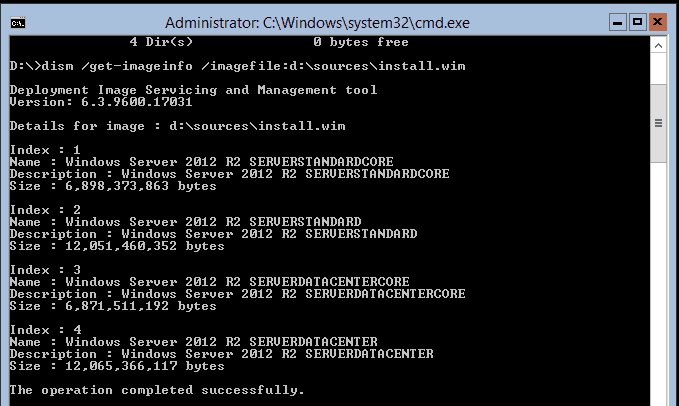
Note: d: is the drive letter of the DVD drive.
- In our case Windows Server 2012 R2 Datacenter is Index : 4
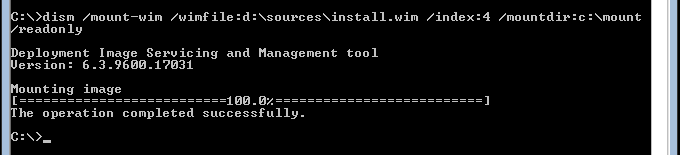
Use the Deployment Image Servicing and Management (DISM.EXE) to mount the desired operating system files from the install.wim file.
Note: If you previously had the graphical interface installed on this server you will not have to mount the installation files.
Note: If your computer has internet access, PowerShell can retrieve the source files from Windows Update.
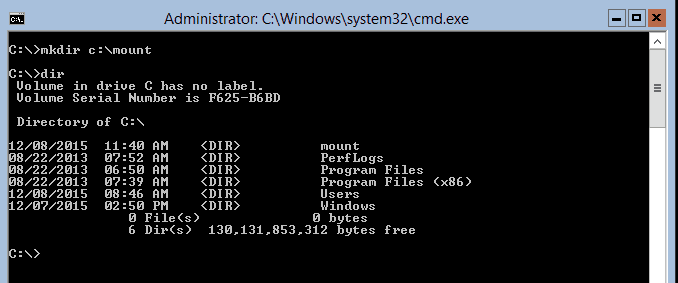
- Make a folder on the root of the C: drive to mount the installation files. Type mkdir C:\mount, type dir to ensure folder was created.
- Type dism /mount-wim /wimfile:d:\sources\install.wim /index:4 /mountdir:c:\mount /readonly. Observe the progress as the image is mounted.

- Verify the operation completed successfully.
Use the PowerShell to convert to the MiniShell using local source files.
- Launch PowerShell, type powershell in the command prompt.
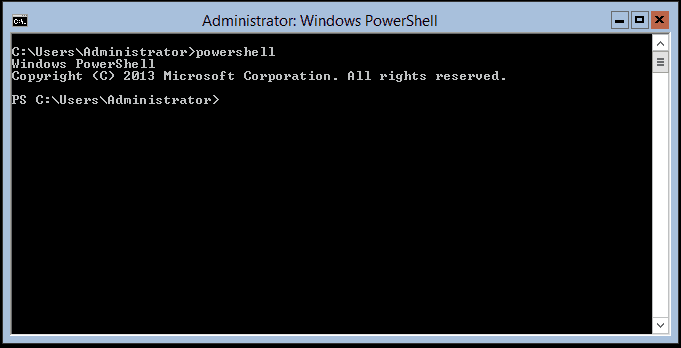
Note: The prompt turned to PS.
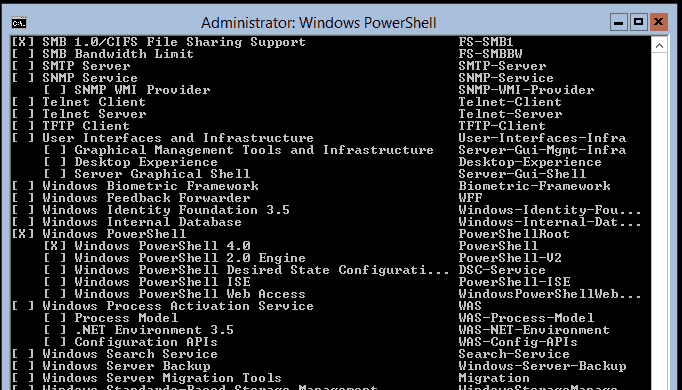
- To determine the proper syntax for the features you want to install, type get-windowsfeature then enter.

Note: The feature we want to install is Graphical Management Tools and Infrastructure (Server-Gui-Mgmt-Infra).
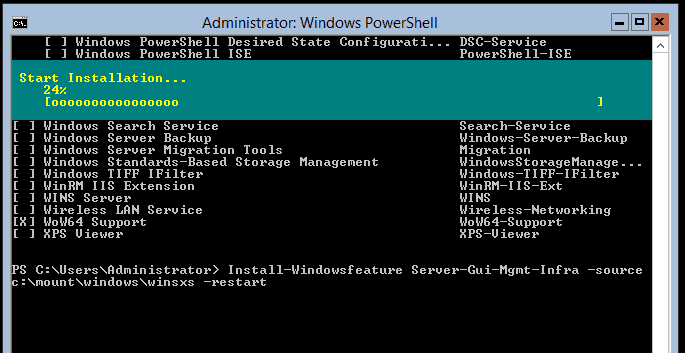
- Type Install-windowsfeature Server-Gui-Mgmt-Infra –source c:\mount\windows\winsxs –restart
Note: This process will take some time to complete, be patient it will finish.
Use the PowerShell to convert to the MiniShell using Windows Updates.
- Launch PowerShell, type powershell in the command prompt.

Note: The prompt turned to PS.
- To determine the proper syntax for the features you want to install, type get-windowsfeature then enter.
Note: The feature we want to install is Graphical Management Tools and Infrastructure (Server-Gui-Mgmt-Infra).
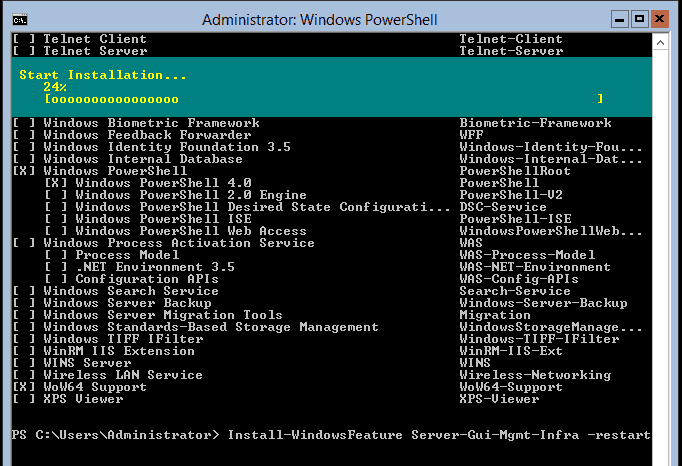
- Type Install-Windowsfeature Server-Gui-Mgmt-Infra –restart
Note: This process will take some time to complete, be patient it will finish.
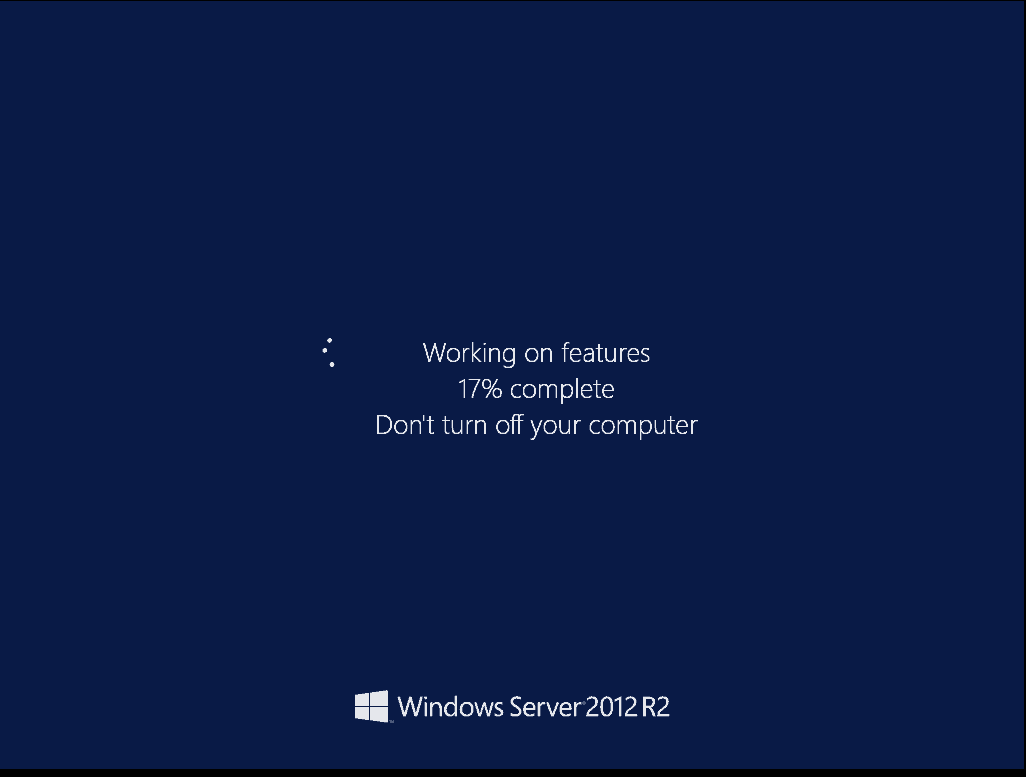
Note: This process will take some time to complete and may restart multiple times.
Verify the MiniShell is installed.
- Once the computer restarts and you have logged on, Server Manager will automatically launch.
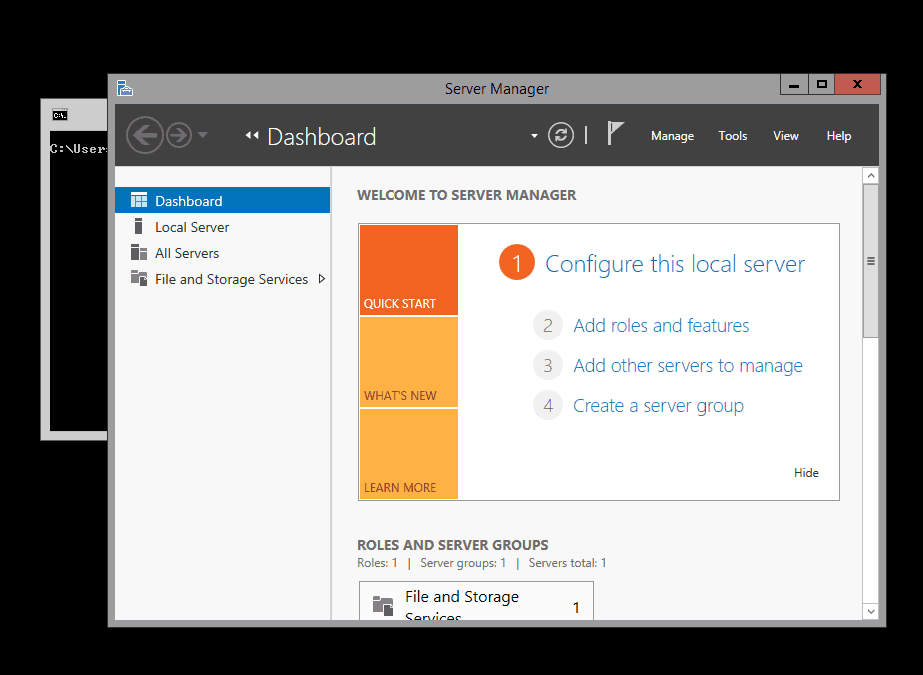
- At this point all the graphical tools that can be launched from Server Manager will now be available.
Note: There is no graphical Windows installed and there is no Internet Explorer.
Note: If you close Server Manager and need to relaunch it just type Servermanager in the Command Prompt.
Check back later for more blogs relating to:
- Using Deployment Image Servicing and Management (DISM.EXE) tool to convert to the Full Graphical Shell on a Windows Server 2012 R2 Datacenter Core Edition from installation media.
- Using PowerShell to convert to the MiniShell on a Windows Server 2012 R2 Datacenter Core Edition.
- Using Deployment Image Servicing and Management (DISM.EXE) tool to convert to the MiniShell on a Windows Server 2012 R2 Datacenter
- Using PowerShell convert to the Full Graphical Shell on a Windows Server 2012 R2 Datacenter Core Edition.
- Using Server Manager to uninstall the MiniShell or Full Graphical Shell to convert Windows Server 2012 R2 Datacenter to a Core Edition.
- Using PowerShell to uninstall the MiniShell or Full Graphical Shell to convert Windows Server 2012 R2 Datacenter to a Core Edition.
Until next time – Ride Safe!
Rick Trader
Windows Server Instructor – Interface Technical Training
Phoenix, AZ


A Simple Introduction to Cisco CML2
Mark Jacob, Cisco Instructor, presents an introduction to Cisco Modeling Labs 2.0 or CML2.0, an upgrade to Cisco’s VIRL Personal Edition. Mark demonstrates Terminal Emulator access to console, as well as console access from within the CML2.0 product. Hello, I’m Mark Jacob, a Cisco Instructor and Network Instructor at Interface Technical Training. I’ve been using … Continue reading A Simple Introduction to Cisco CML2
Creating Dynamic DNS in Network Environments
This content is from our CompTIA Network + Video Certification Training Course. Start training today! In this video, CompTIA Network + instructor Rick Trader teaches how to create Dynamic DNS zones in Network Environments. Video Transcription: Now that we’ve installed DNS, we’ve created our DNS zones, the next step is now, how do we produce those … Continue reading Creating Dynamic DNS in Network Environments
Cable Testers and How to Use them in Network Environments
This content is from our CompTIA Network + Video Certification Training Course. Start training today! In this video, CompTIA Network + instructor Rick Trader demonstrates how to use cable testers in network environments. Let’s look at some tools that we can use to test our different cables in our environment. Cable Testers Properly Wired Connectivity … Continue reading Cable Testers and How to Use them in Network Environments