Using BCS and External Content Types in SharePoint 2010 To Bring Contacts In and Connect To Outlook 2010

We will use SharePoint Designer 2010 to create an external content type. This will be connected to the customers table in NorthWind and will allow for the creation of a new external list. We will add the functionality of being able to connect this list to Outlook by mapping the customers from NorthWind to the Office Content Type of Contact.
Open SharePoint Designer
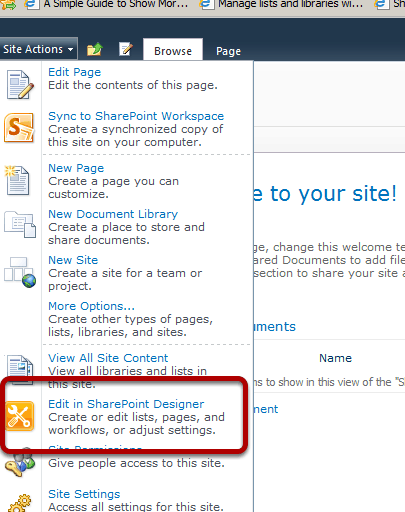
I start with an out of the box site collection using the Team Site as the top level site Template. I Choose Site Actions>Edit in SharePoint Designer to opent SharePoint Designer 2010.
External Content Types
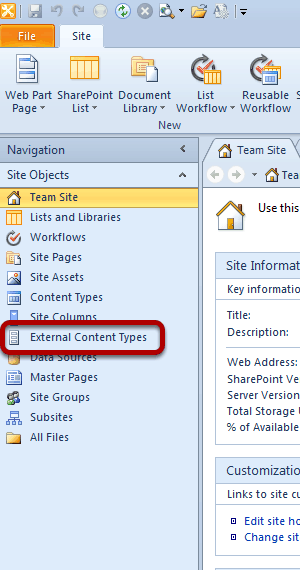
I choose External Content Types in the Navigation Pane of SharePoint Designer 2010.
New External Content Type
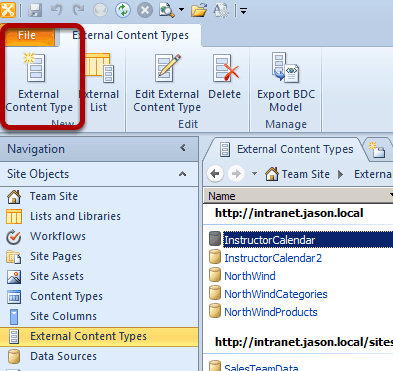
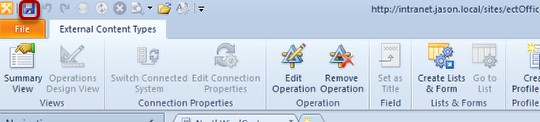
I click on the External Content Type Icon in the Ribbon which is how I will create a new External Content Type. Since this is my development Server I have several already created but I will create a new one here.
Name External Content Type
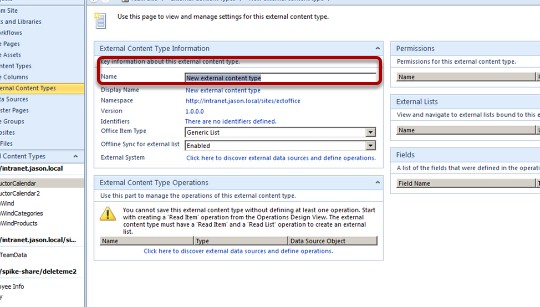
I click the Link in the Name area to name this external content type. I name it NorthWindCustomers, I also name the Display Name the same thing.
Office Item Type
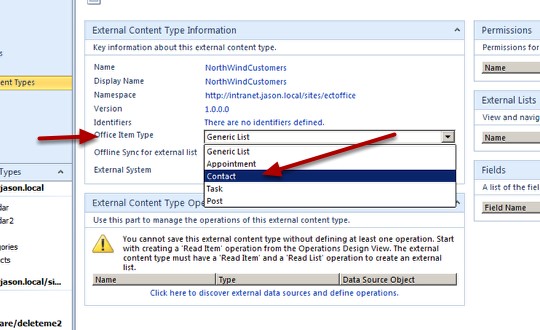
I click the drop down menu for Office Item Type and select Contact.
Sync Enabled
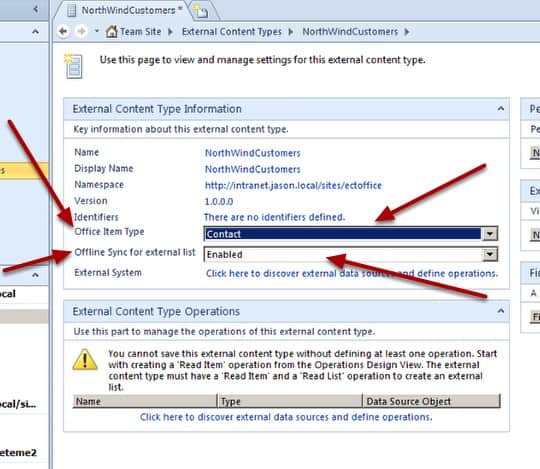
I make sure that the Office Sync for external list is set to Enabled.
Discover External Data Sources
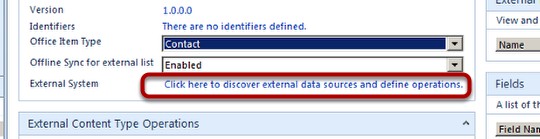
I click the link to discover external data sources
Add Connection
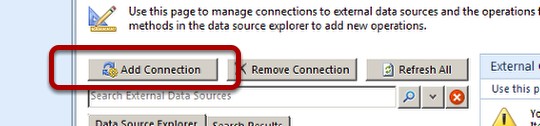
I click the Add Connection button.
Choose Data Source Type
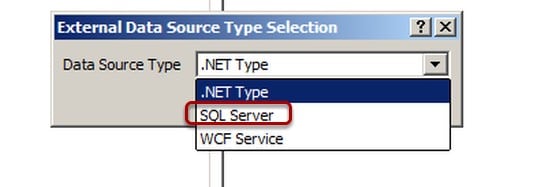
I select SQL Server from the drop down list since I'm connecting to a SQL Server Database.
SQL Server Connection
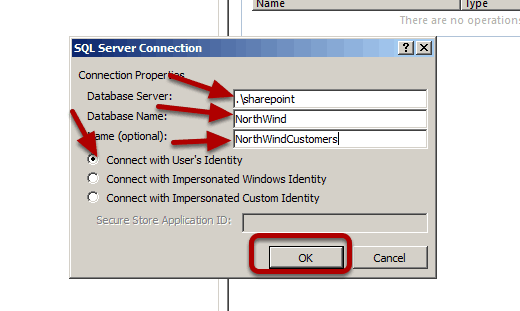
I Fill in the SQL Server Connection Modal Window text boxes as appropriate and click OK. In this case the instance of SQL Server that I have NorthWind on is sharepoint that's why i added .\sharepoint to the Database Server text box. In other environments this would be different in most cases.
Expand NorthWind Customers
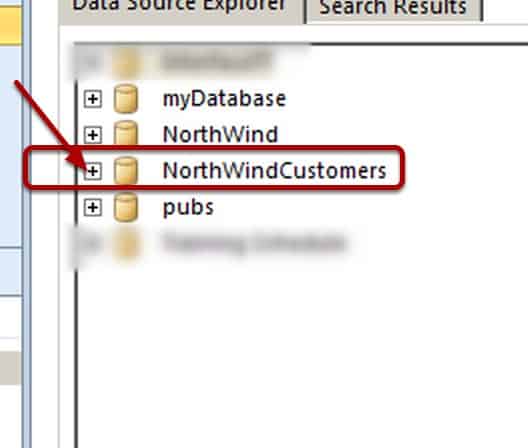
I click the + sign next to NorthWind Customers to expand it.
Expand Tables
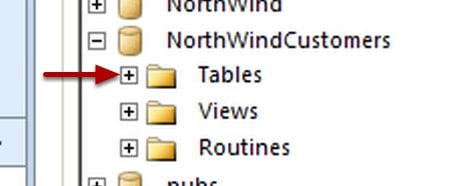
I click the + sign next to Tables to expand it.
Create All Operations
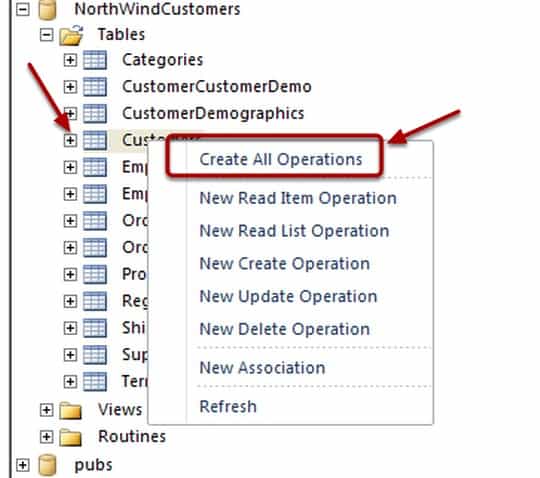
I right click on the Customers table and choose Create All Operations.
Operation Properties Wizard
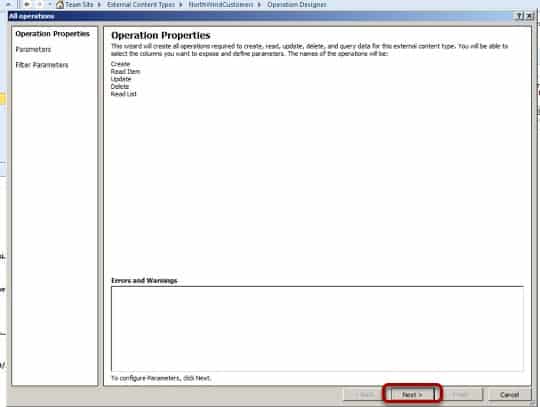
On the first page of the Operation Properties Wizard I click Next.
Map Customer ID
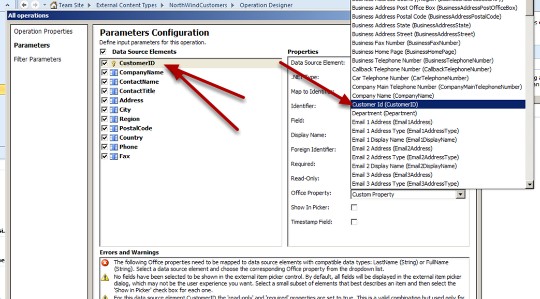
With CustomerID selected in Data Source Elements I click the drop down menu for Office Property and map to the Office CustomerID property.
Map Company Name
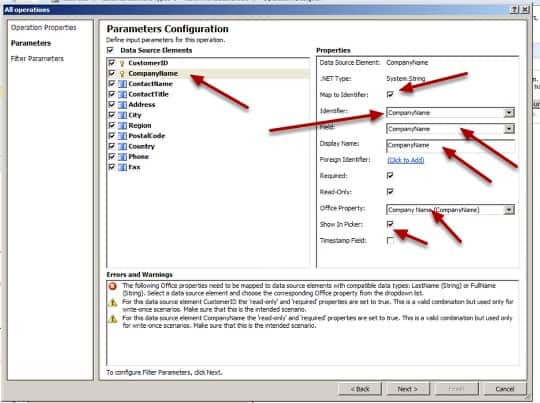
I set the CompanyName mapping as shown.
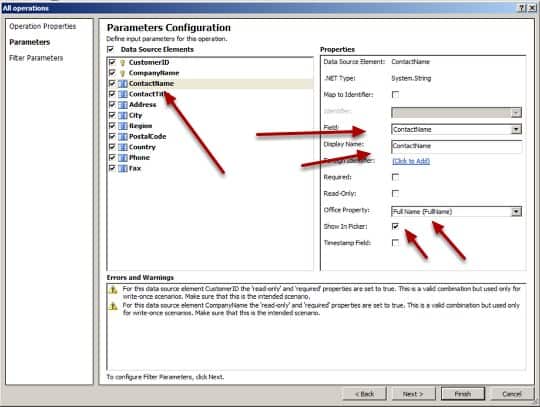
I map the ContactName field as shown.
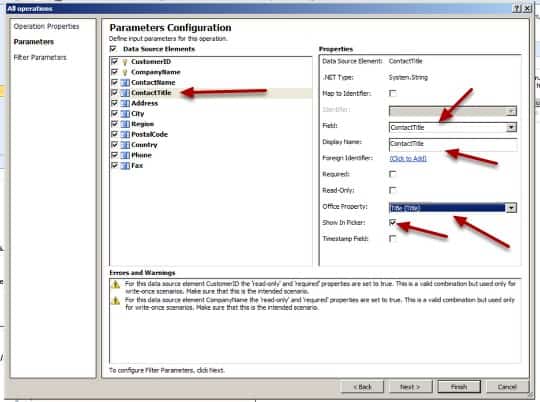
I map the ContactTitle Field as shown.
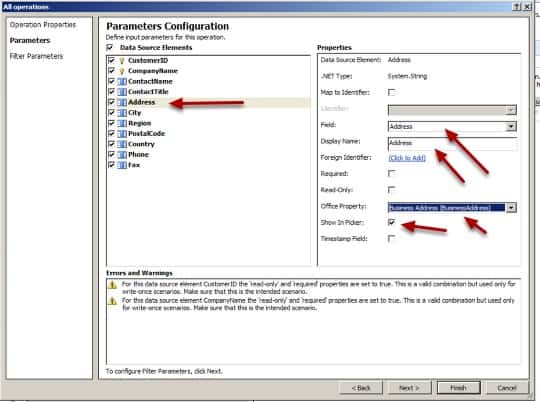
I map the Address as shown.
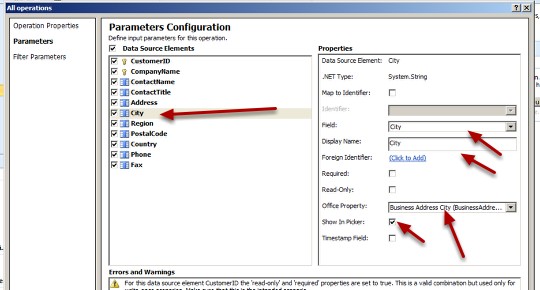
I map the City field as shown.
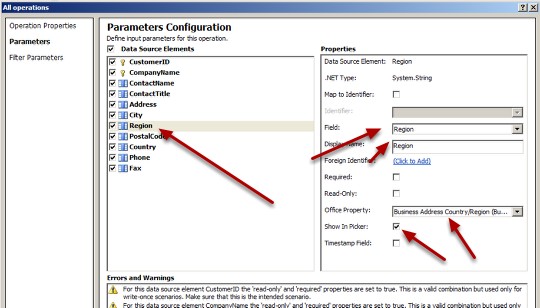
I map the Region field as shown.
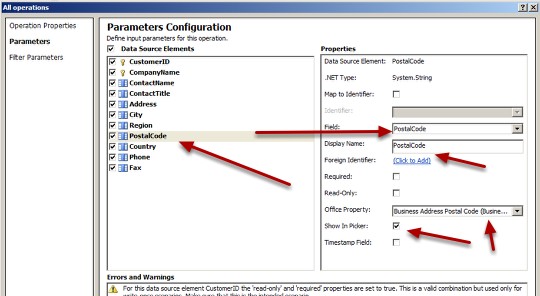
I map the PostalCode Field as shown.
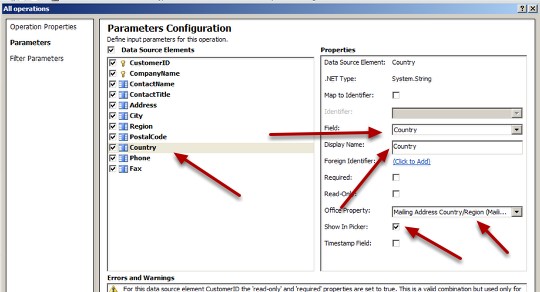
I map the Country Field as shown. (I map it to the mailing address region country)
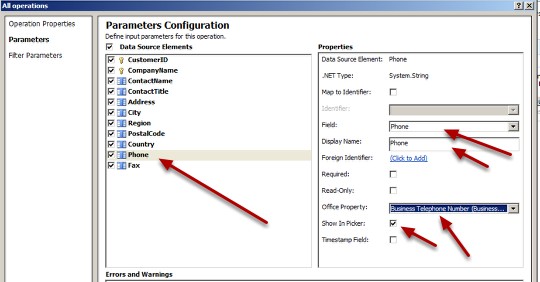
I map the Phone Field as shown.
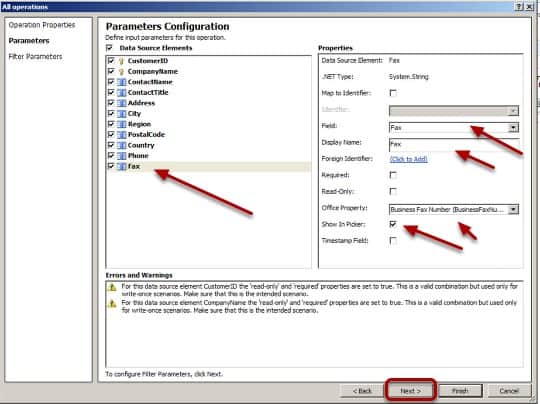
I map the Fax Field as shown. I then click Next.
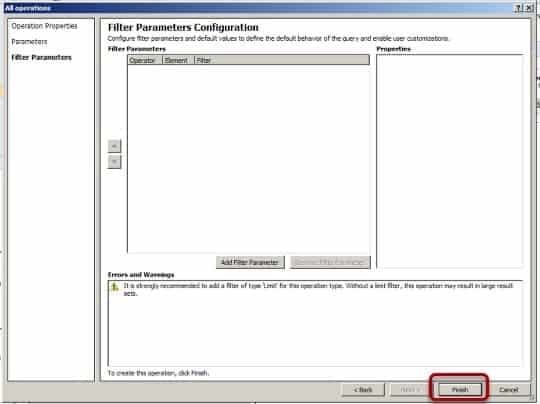
I do not add a filter parameter but if this database table with over 2000 or so items I would add a filter parameter to avoid exceeding my list view threshold which would result in an error when the web part tried to render. So I click Finish.
It's very important to remember to hit save in the quick access toolbar (I have forgotten many times…) after I'm sure it's done saving I close SharePoint Designer.
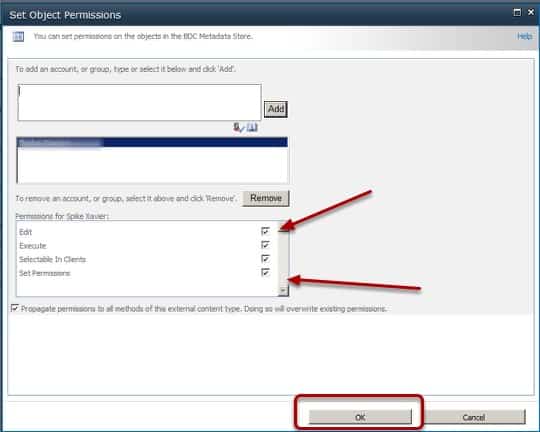
At this point a farm administrator needs to configure permissions to the external content type. This is really a separate blog so i'll just show the finished screenshot.
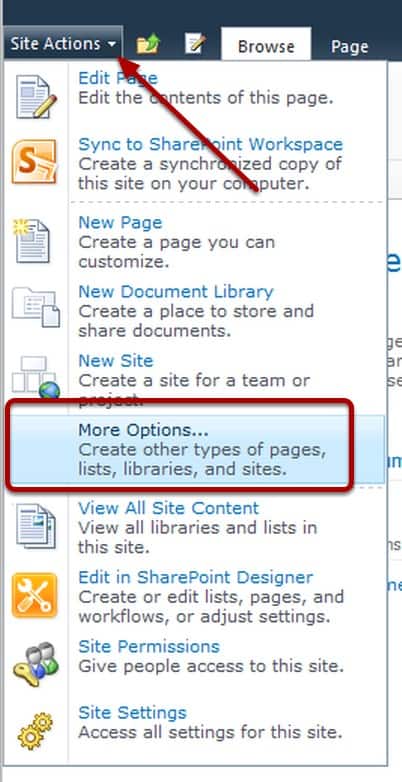
There are many ways to do this but I'll click Site Actions>More Options
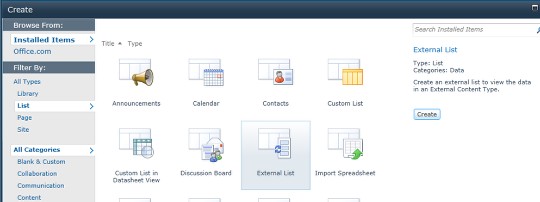
I filter by list and choose External List for the template. Then I click Create.
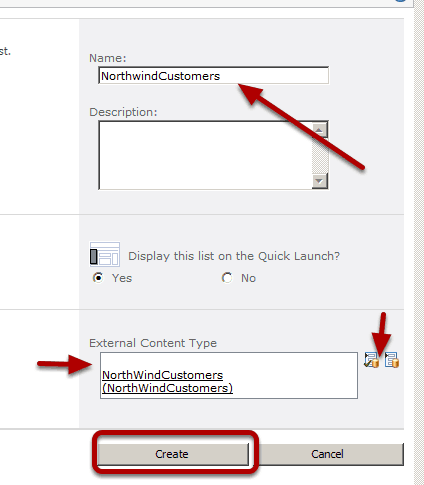
I'll name the list NorthWindCustomers and enter NorthwindCustomers in the External Content Type Field and click CTRL + K to do a lookup and fill in the value. Then I click Create.
Connect To Outlook
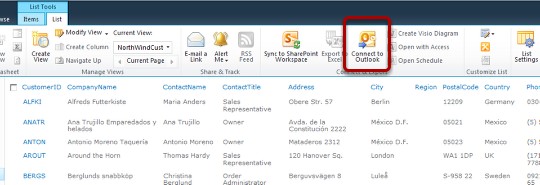
I click the Connect to Outlook Icon in the ribbon.
Verify Results
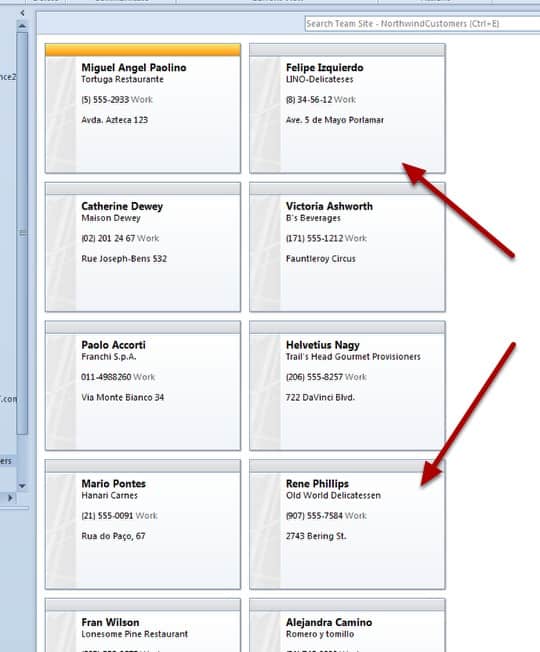
I clicked o.k. to a couple of modal windows that i was too slow to capture and BAM the contacts are in outlook!!!!!
All with NO CODE by the way!!!


A Simple Introduction to Cisco CML2
Mark Jacob, Cisco Instructor, presents an introduction to Cisco Modeling Labs 2.0 or CML2.0, an upgrade to Cisco’s VIRL Personal Edition. Mark demonstrates Terminal Emulator access to console, as well as console access from within the CML2.0 product. Hello, I’m Mark Jacob, a Cisco Instructor and Network Instructor at Interface Technical Training. I’ve been using … Continue reading A Simple Introduction to Cisco CML2
Creating Dynamic DNS in Network Environments
This content is from our CompTIA Network + Video Certification Training Course. Start training today! In this video, CompTIA Network + instructor Rick Trader teaches how to create Dynamic DNS zones in Network Environments. Video Transcription: Now that we’ve installed DNS, we’ve created our DNS zones, the next step is now, how do we produce those … Continue reading Creating Dynamic DNS in Network Environments
Cable Testers and How to Use them in Network Environments
This content is from our CompTIA Network + Video Certification Training Course. Start training today! In this video, CompTIA Network + instructor Rick Trader demonstrates how to use cable testers in network environments. Let’s look at some tools that we can use to test our different cables in our environment. Cable Testers Properly Wired Connectivity … Continue reading Cable Testers and How to Use them in Network Environments